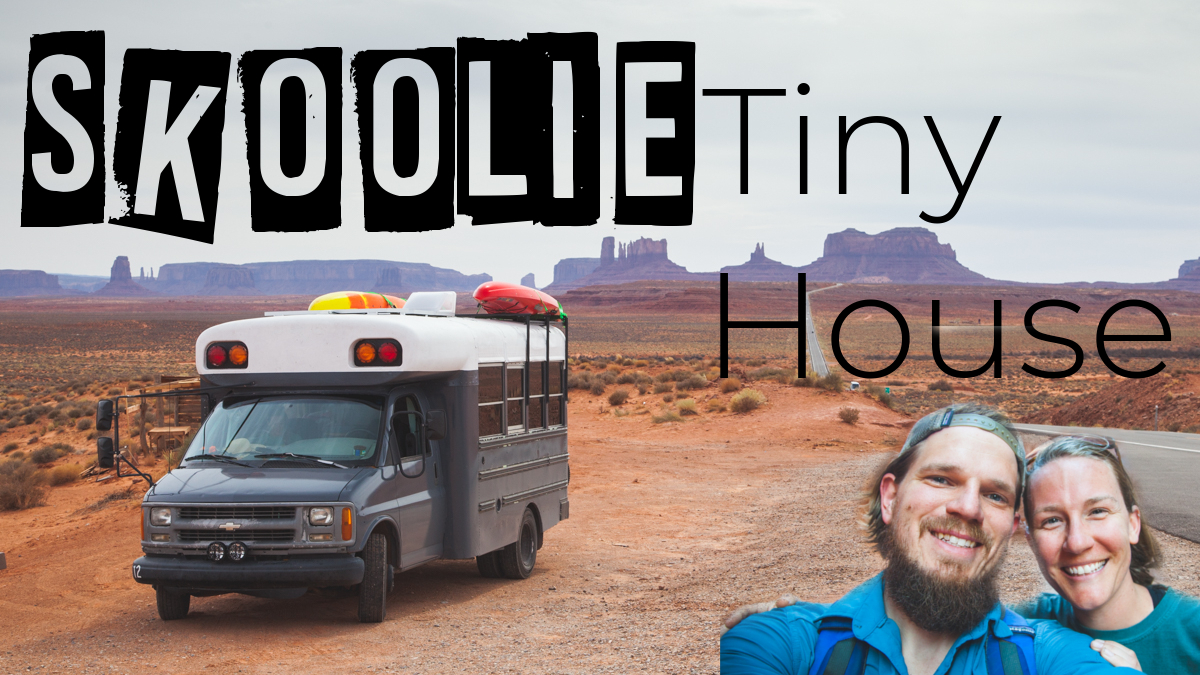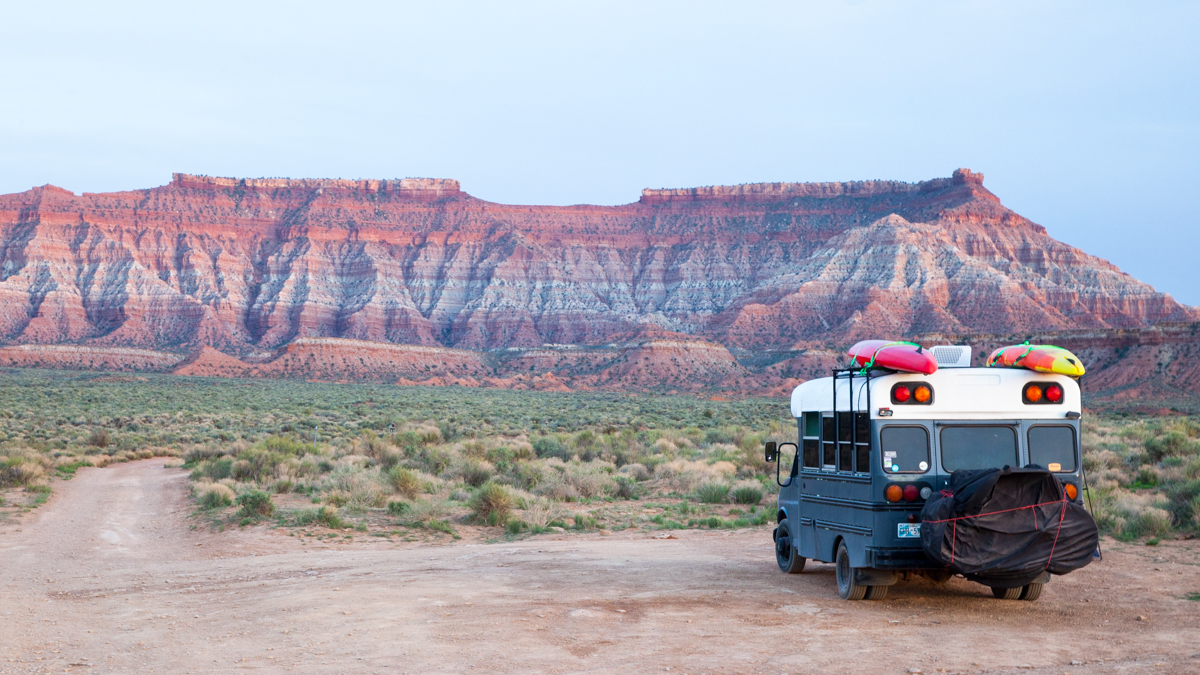
Skoolie Overland Travel Part 1: Why a Skoolie-Conversion Makes a Bad Travel Rig
I need to clear this up before we get to the good stuff: My wife and I live in a school bus conversion, by choice.
Overland Travel ⎮ Adventure Photography
I need to clear this up before we get to the good stuff: My wife and I live in a school bus conversion, by choice.
If your social media feeds are like mine, they are littered with #vanlifers that are sprawled out in their sprinter conversions, physically exquisite companion half
Want to know how we afford to live on the road full time? From savings tactics to remote jobs, we explain how we have made money on the road!
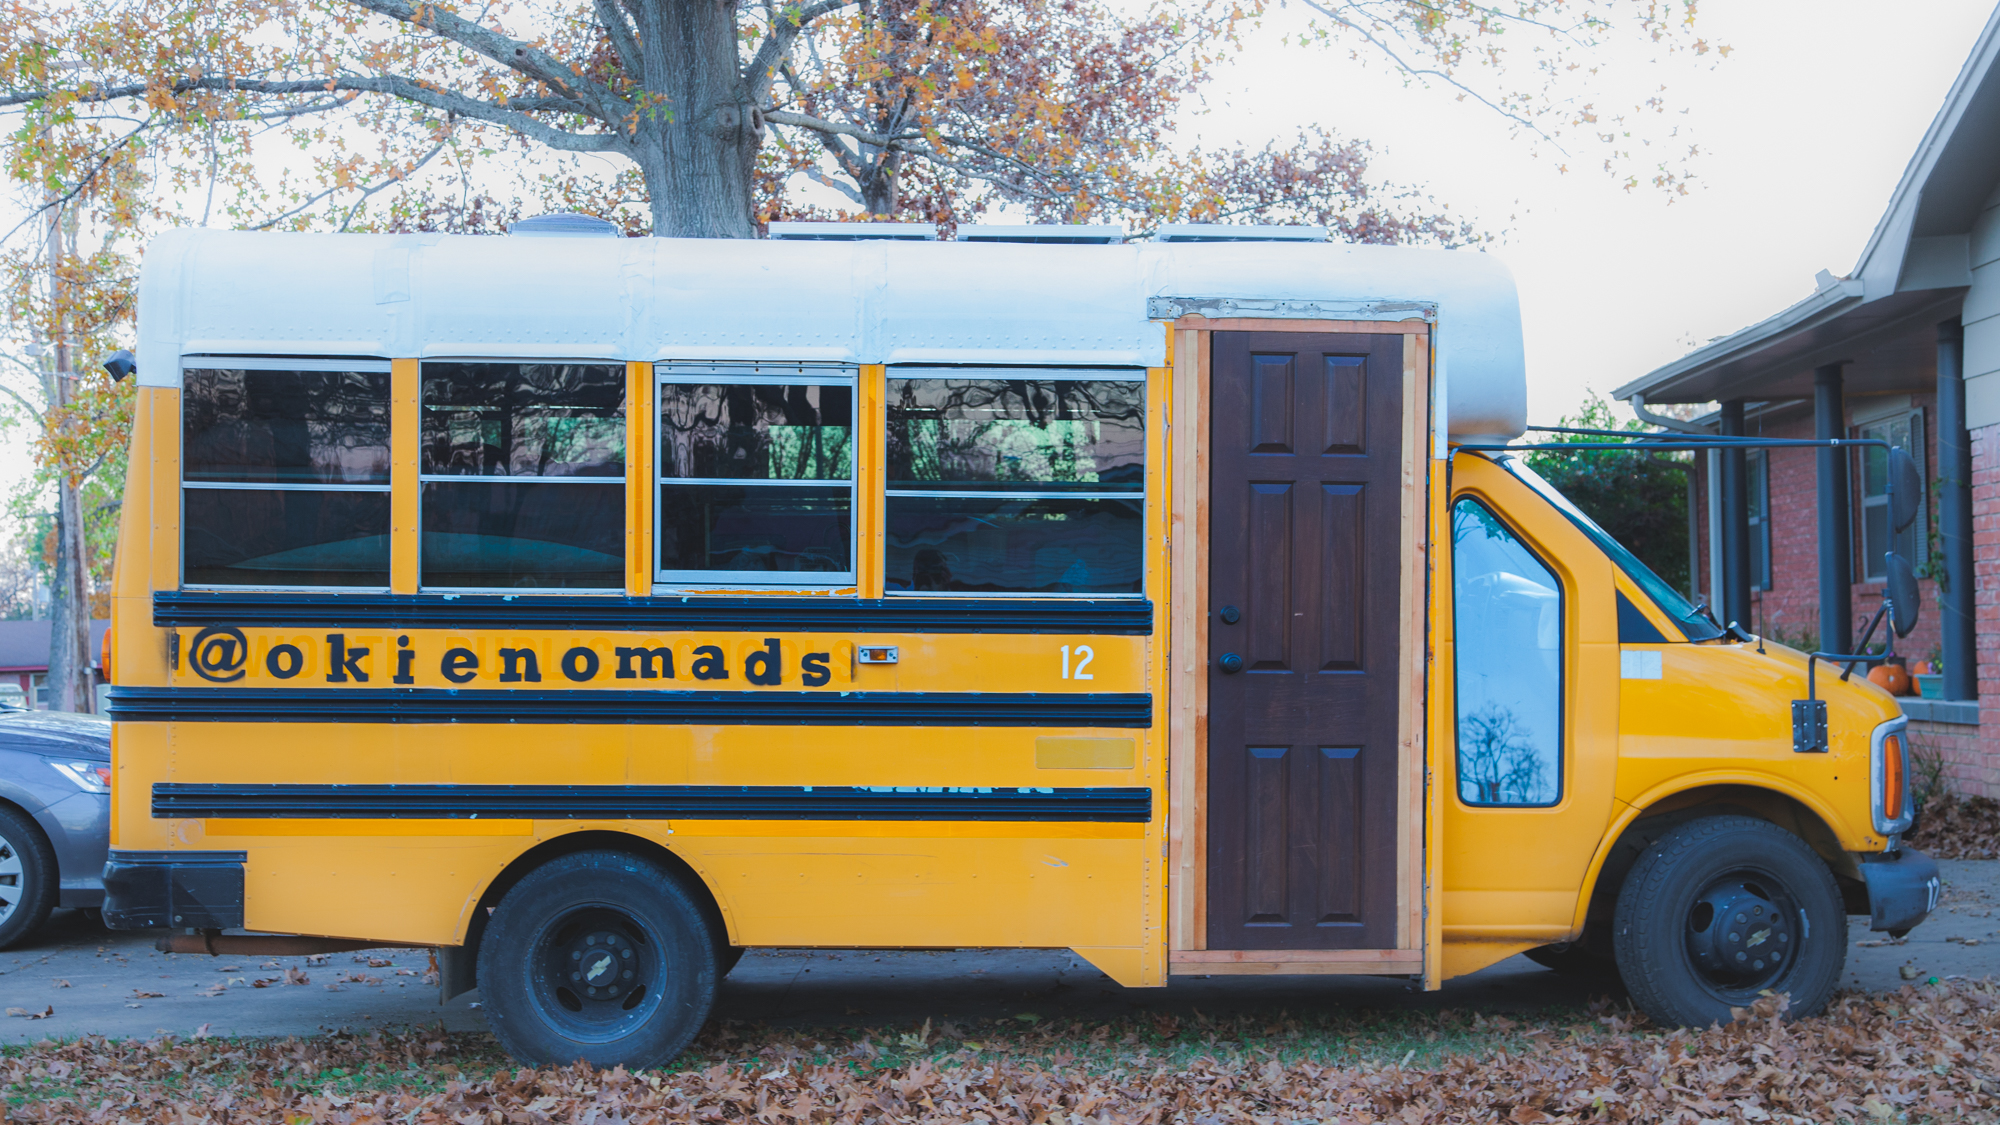
You have asked and we have heard your cries! Because we threw the bus together so fast the last couple of weeks of having a
Some of our most dedicated readers might remember that right after we purchased our bus in Fall 2016, we traveled 1500 total miles with Rachael’s