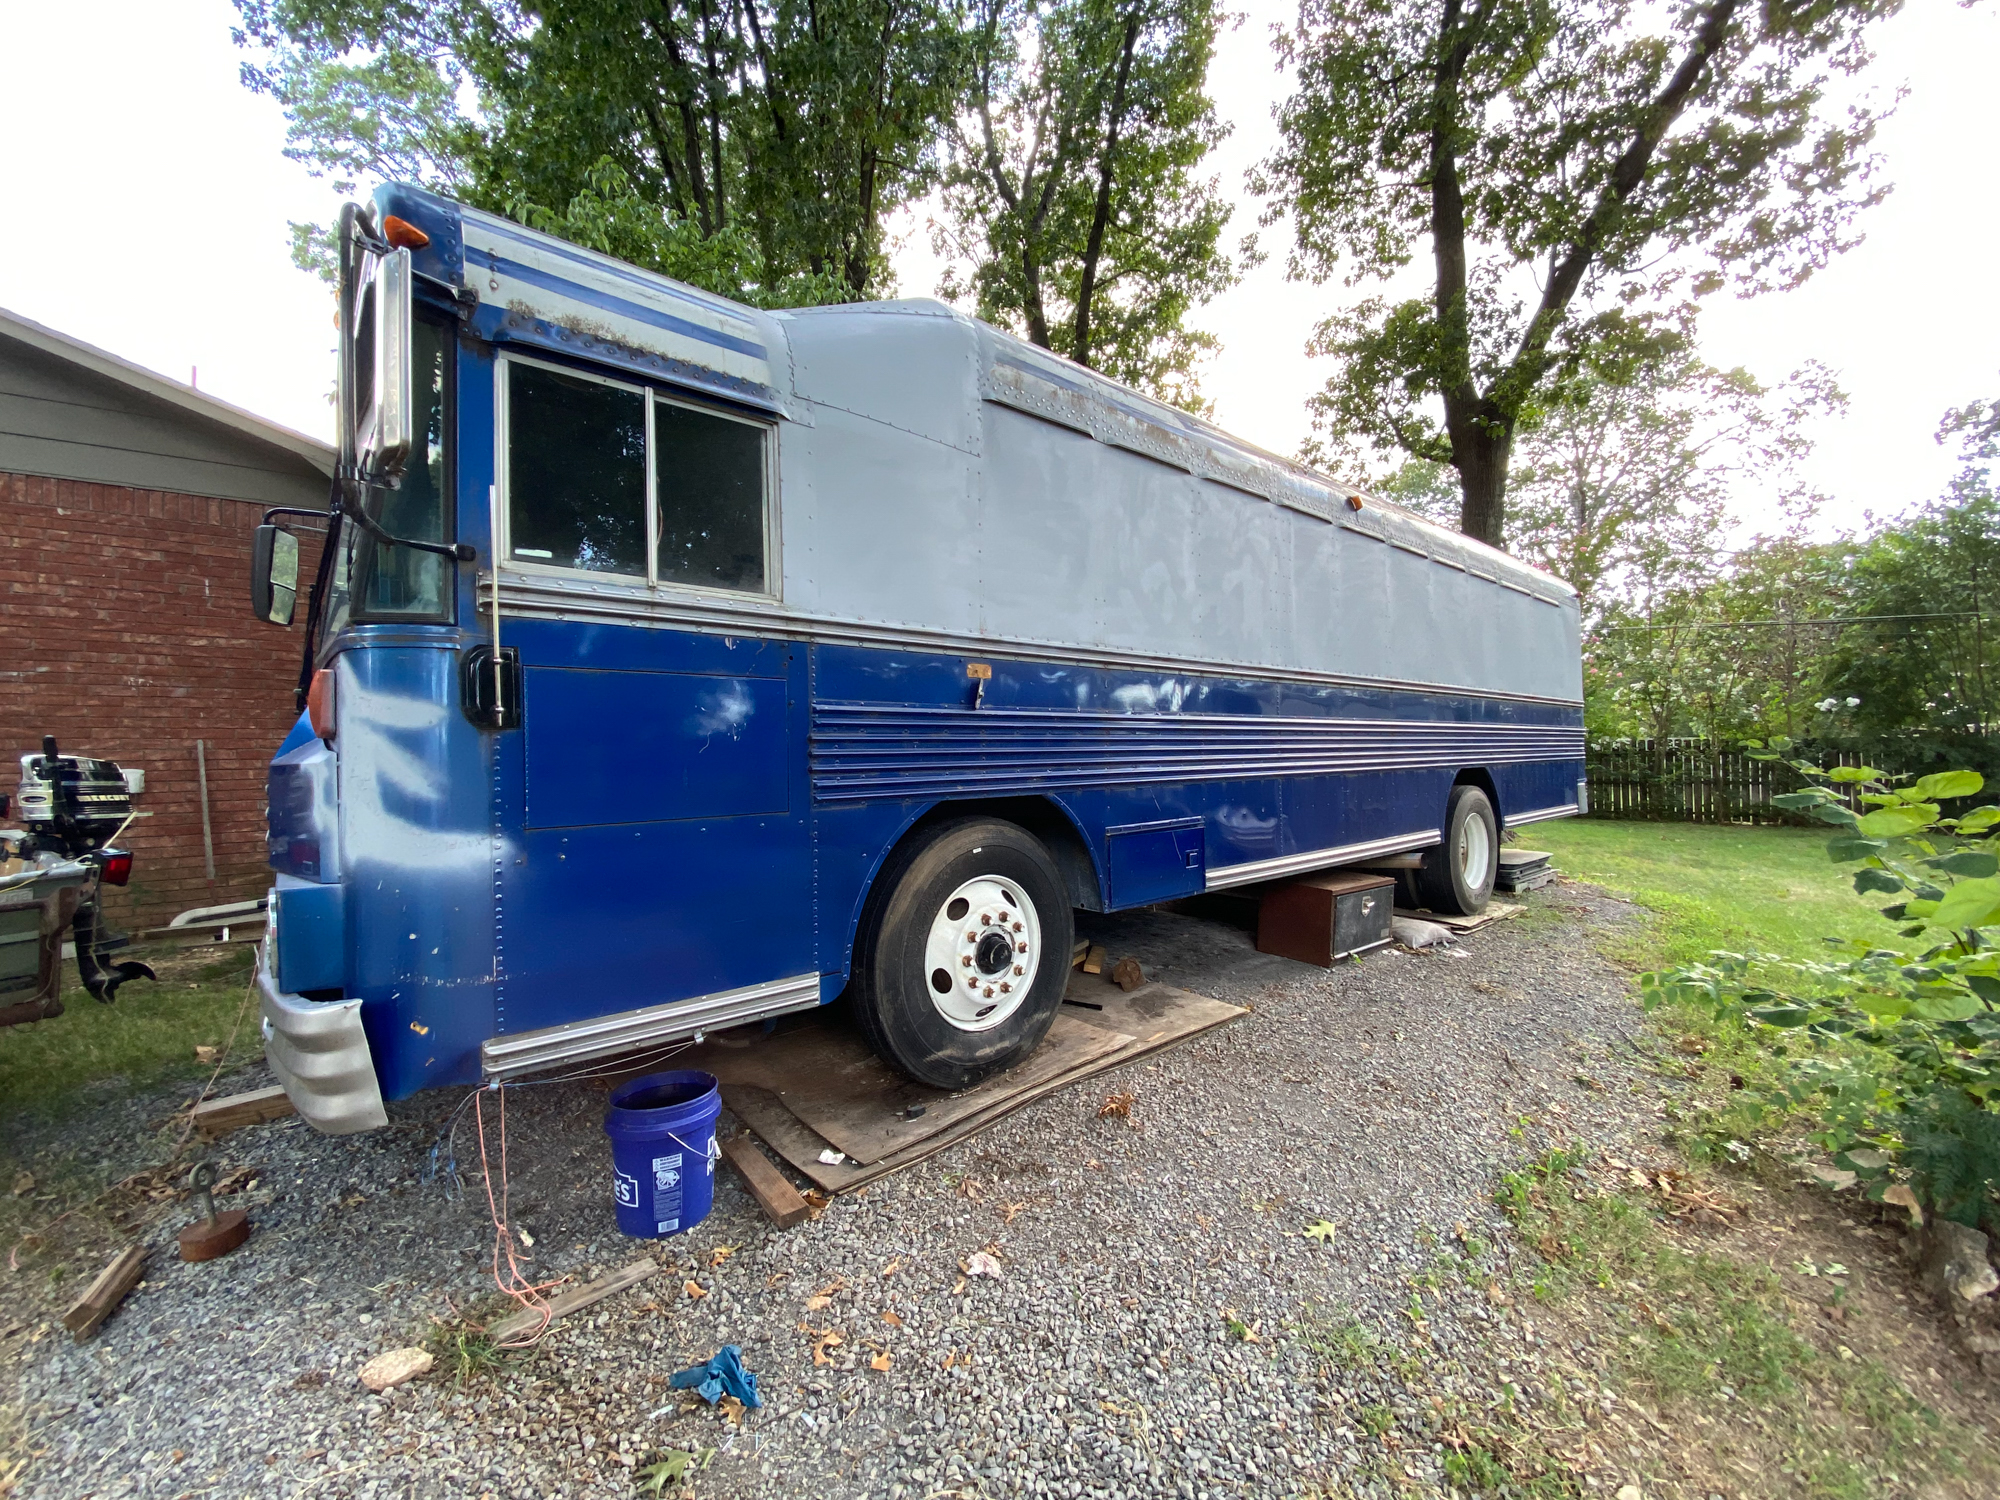
(SOLD)Our Roof Raise Full-Size Skoolie School Bus Conversion is For Sale!
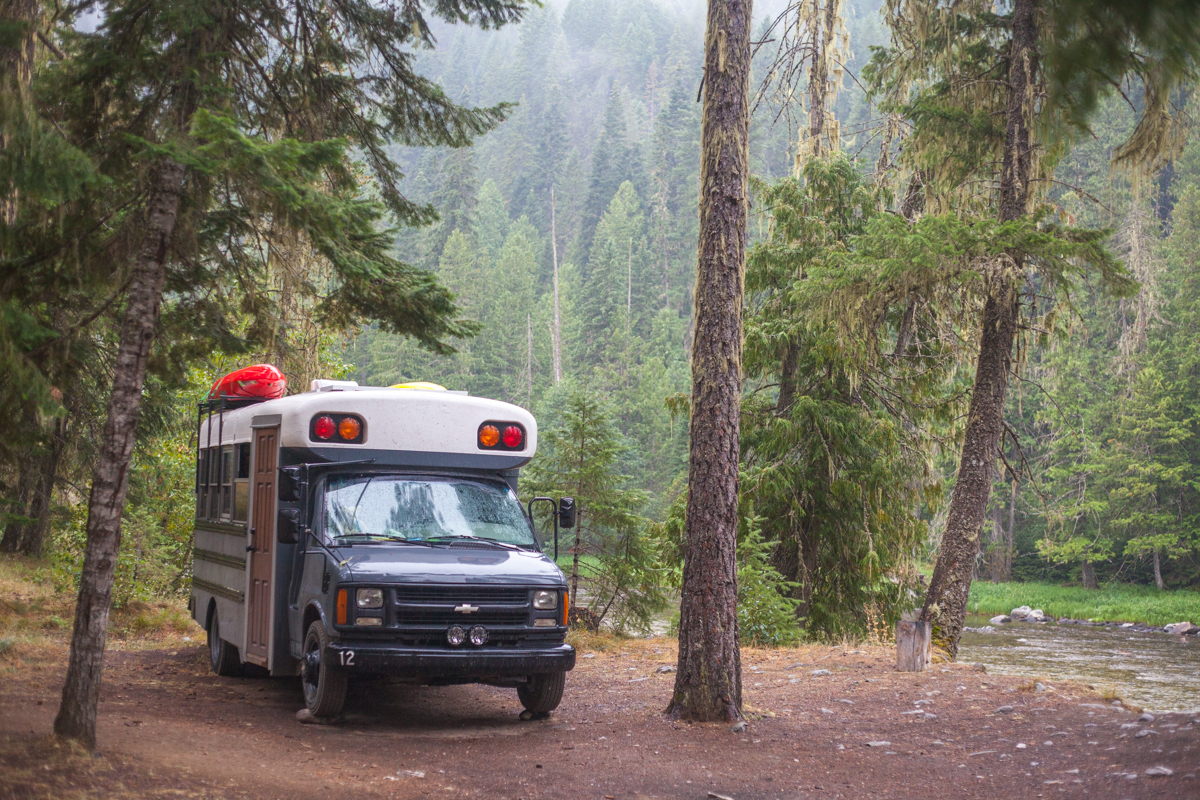
BUS IS SOLD 1991 Bluebird Skoolie with 12” roof raise, RV windows, generator, propane tank, and NEW TIRES. The bus is ready to be built
Overland Travel ⎮ Adventure Photography
BUS IS SOLD 1991 Bluebird Skoolie with 12” roof raise, RV windows, generator, propane tank, and NEW TIRES. The bus is ready to be built
We remove all interior sheet metal and insulation inside Big Blue. We also remove the plywood floor that is damp and has caused rust.
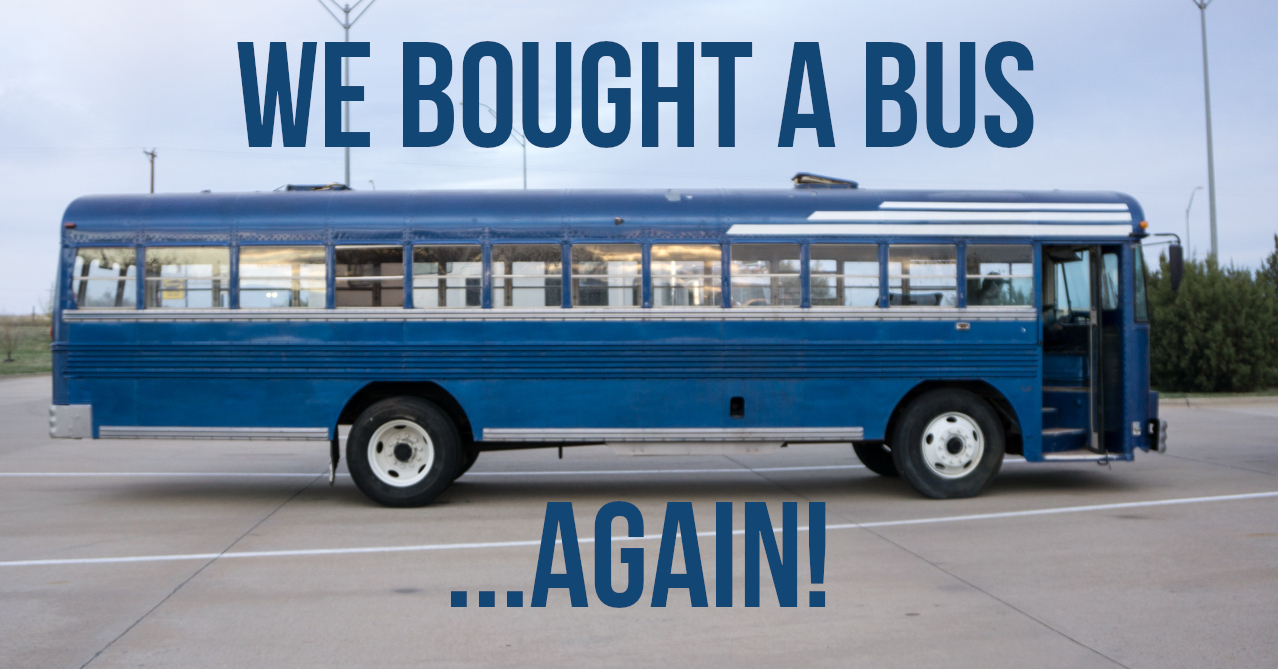
We bought another bus! Our plans are to chop the top to create a custom, poor-man’s, toy hauler to transport our 4×4 around.
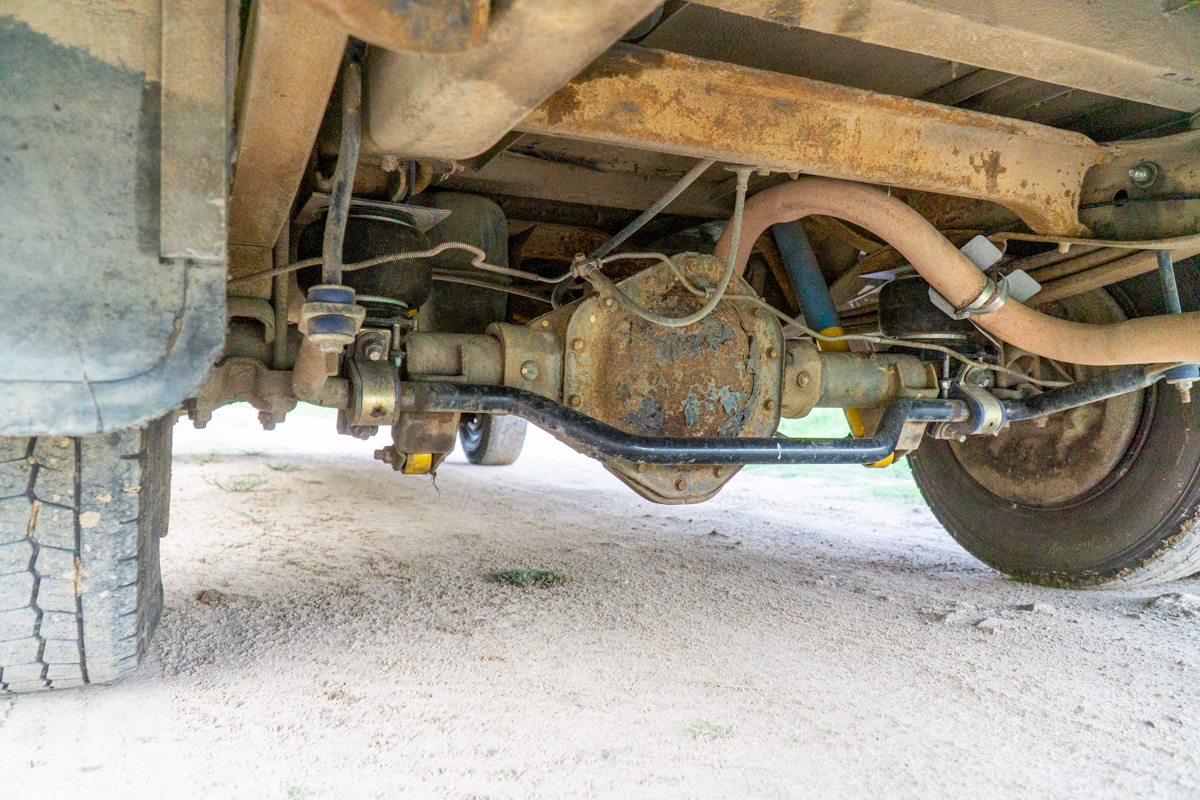
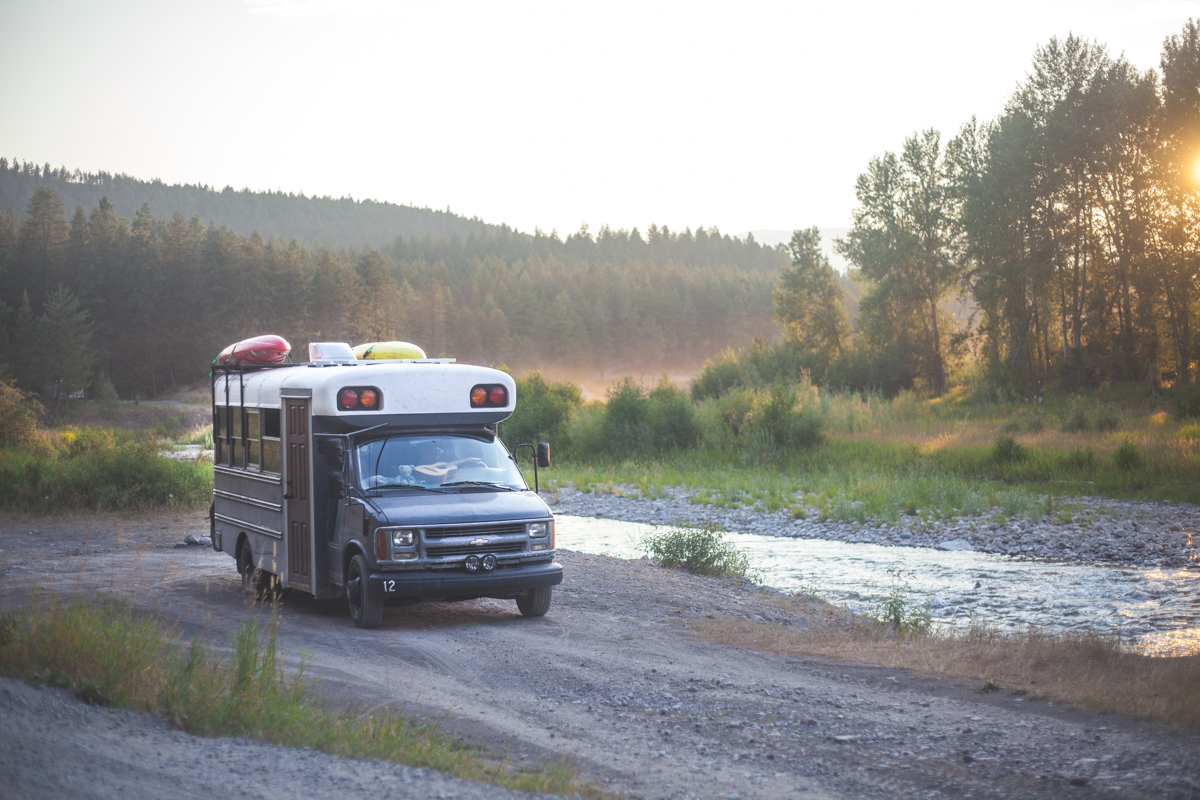
Originally our skoolie handled like a boat, it stills does. But now it handles like an appropriately nimble boat. We were constantly having to take
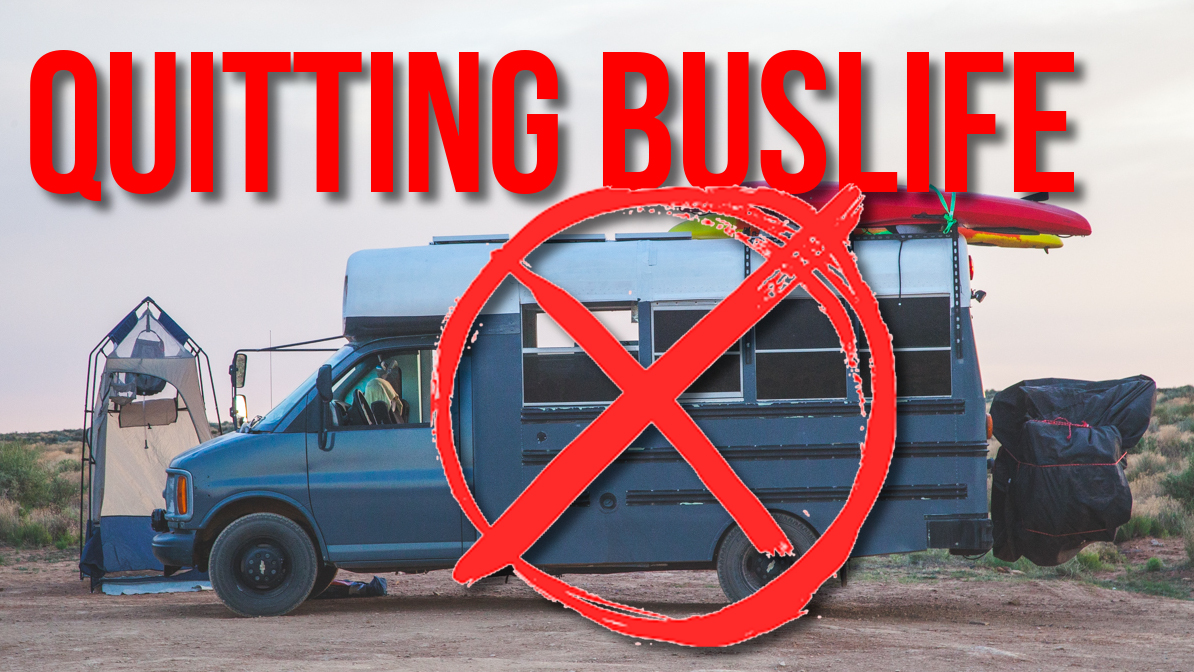
We are quitting #buslife…for now! Our jobs and travel plans have outgrown our bus for the immediate future and we are heading to Baja in our 1st generation Toyota 4Runner!
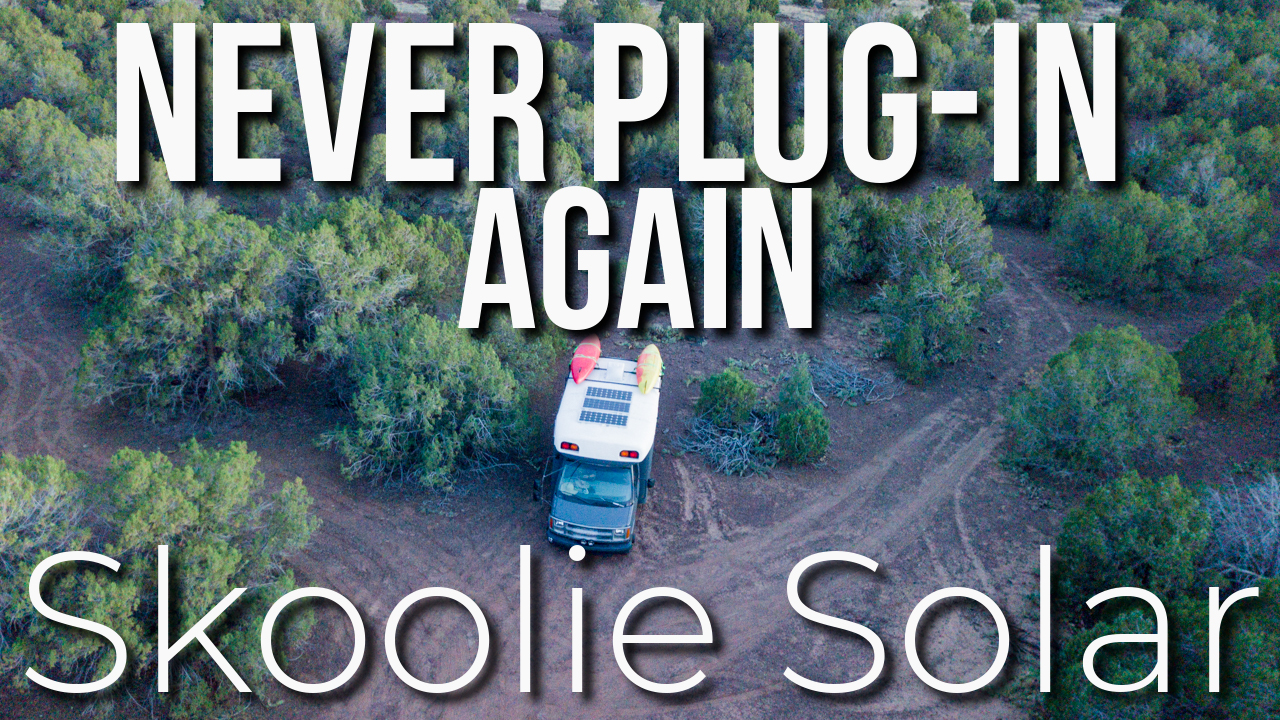
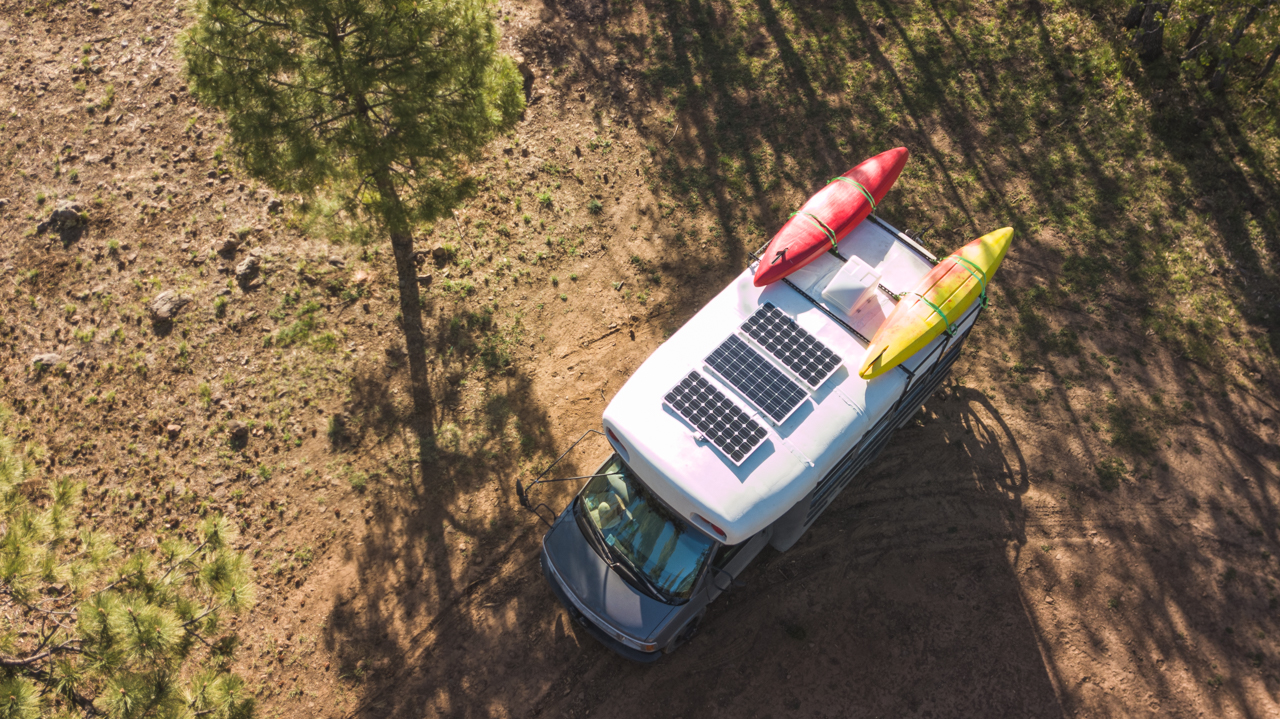
We have posted a new video walking through the solar system installed on our Skoolie conversion. In our video we show you how and where
Know What You Need and How You Will Use It The house electrical system of any conversion or RV is a pretty daunting and scary
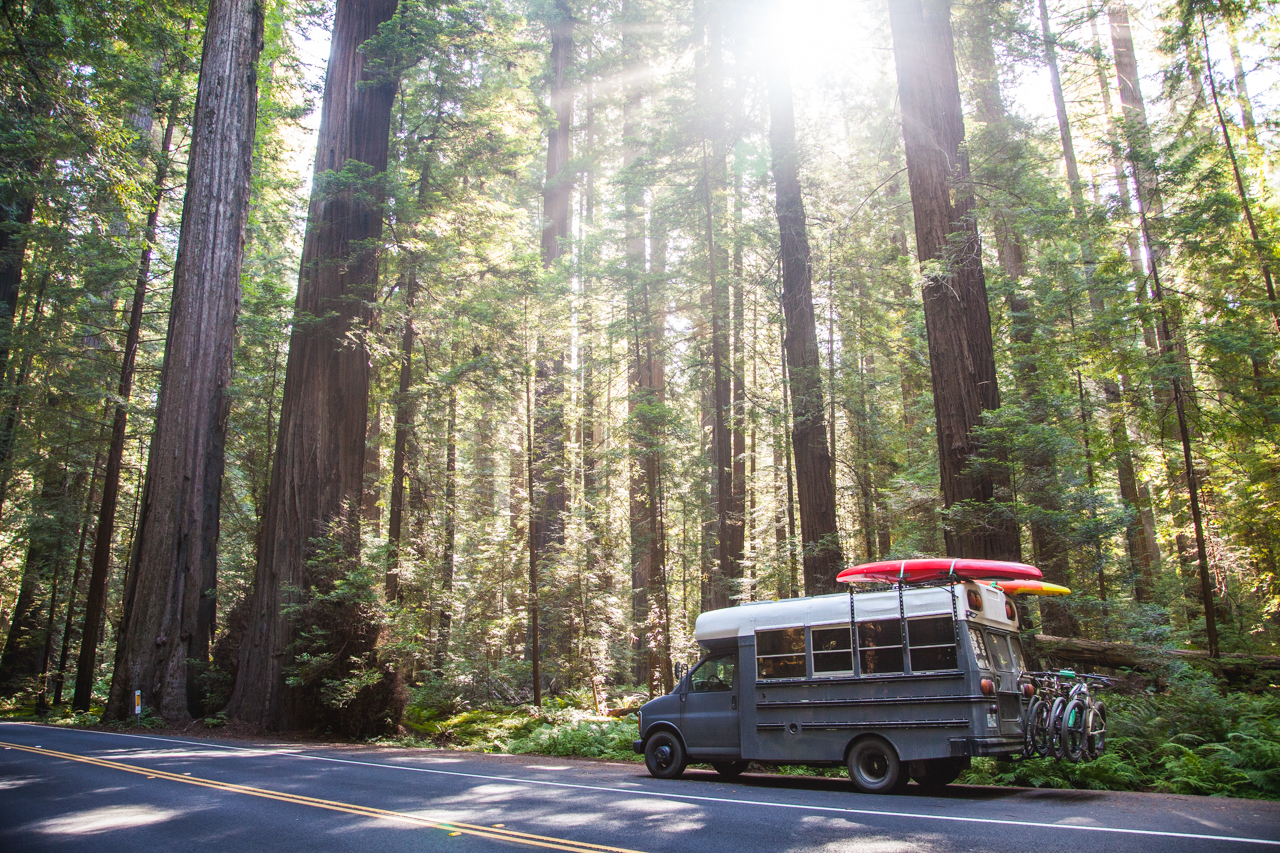
We painted our bus in a hurry and ended up with a really good looking paintjob thanks to help from my grandparents, parents and Rachael’s
When we purchased our bus and began to build it into a tiny home on wheels we were overwhelmed with the options of accessories and
I hope you have had a chance to read Part 1 of this article before reading this one. In the first article on this topic