The DOMETIC CFX3 95DZ is a BEAST of an Overland Refrigerator
When it comes to overland refrigerators, the DOMETIC CFX3 95DZ is a formidable choice that has gained a reputation for its exceptional performance and versatility.
Overland Travel ⎮ Adventure Photography
When it comes to overland refrigerators, the DOMETIC CFX3 95DZ is a formidable choice that has gained a reputation for its exceptional performance and versatility.
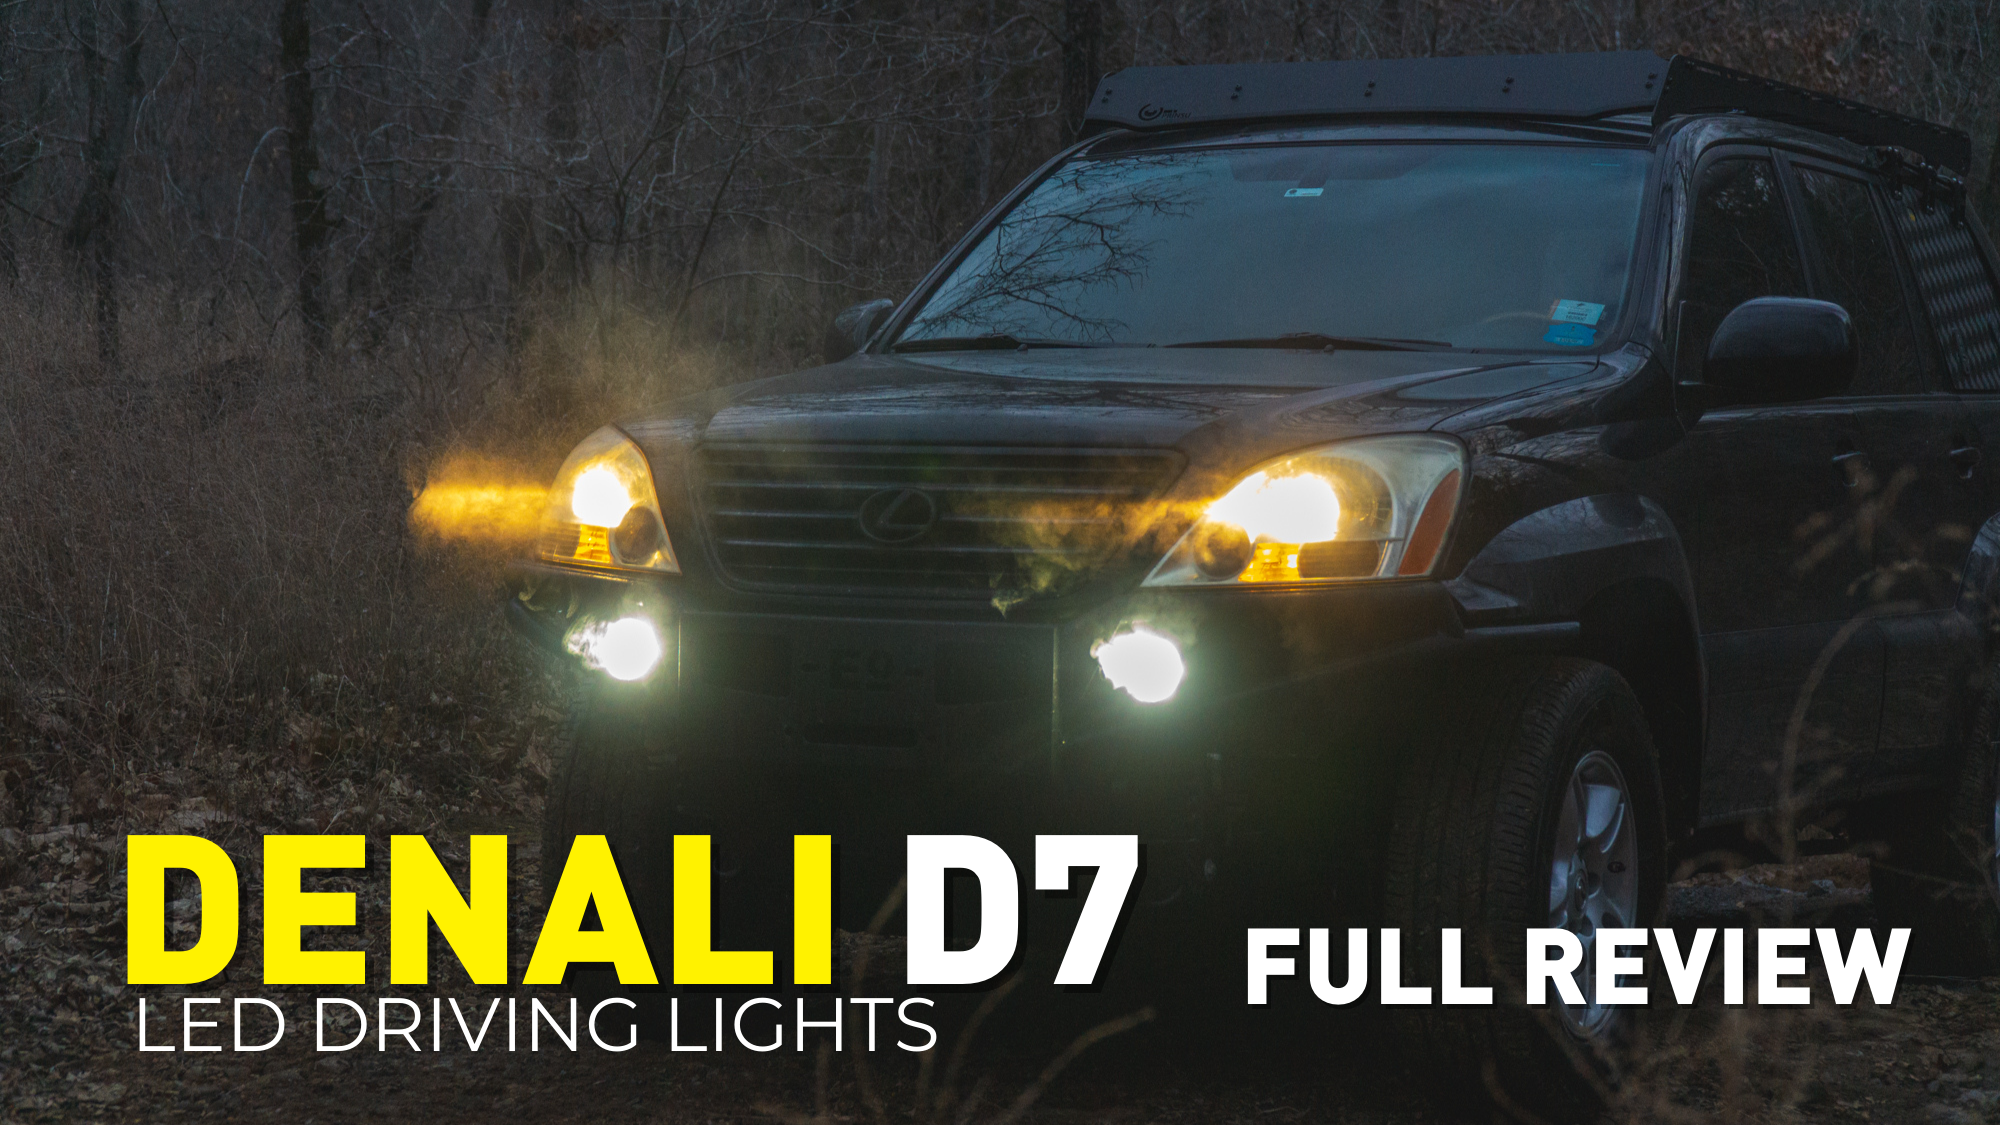
The DENALI D7 is one of the most powerful and impressive LED off-road lights on the market. We have had our D7’s for a few trips and thousands of miles of off-road travel with fantastic results. The D7 has industry leading lumens and light distance at an affordable price.
The Mountainsmith Morrison 2 is a simple, reliable, and affordable backpacking tent! This gear review highlights the best aspects of the Morrison 2 and why it should be your next backpacking tent.
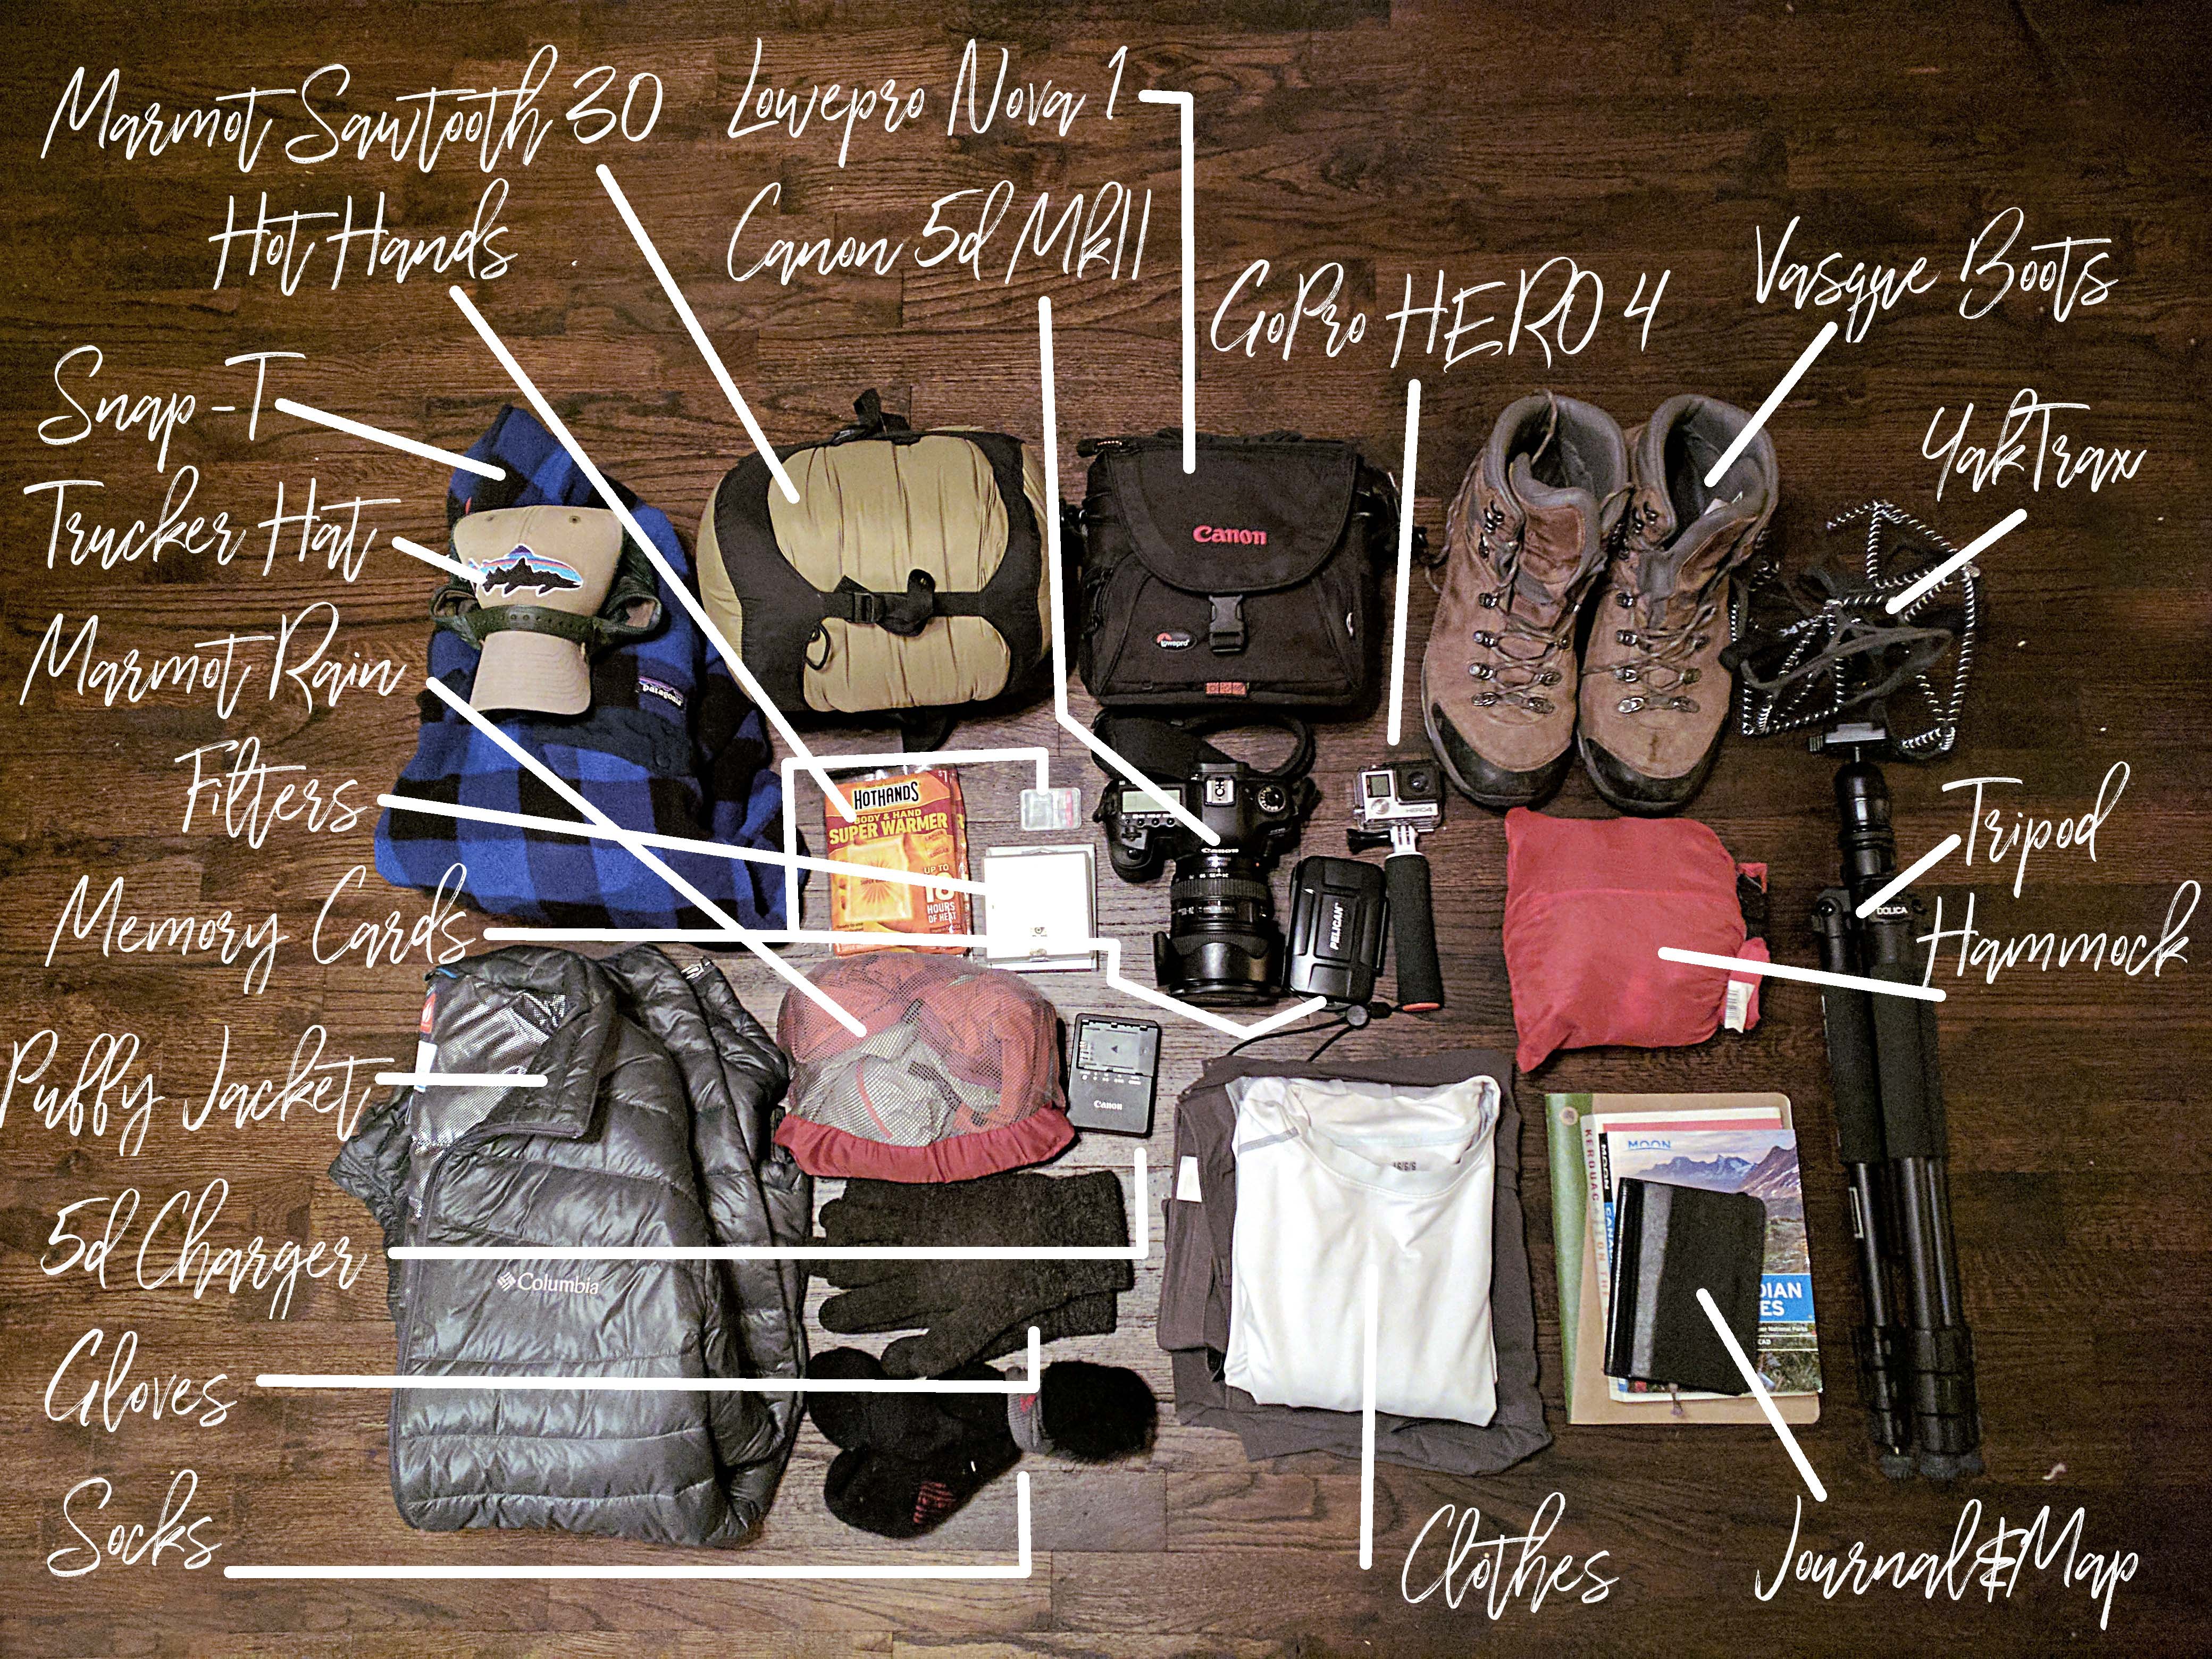
One of my favorite aspects of any adventure is the preparation. The route planning, researching local attractions and trails, and packing enough gear to survive