Gear Review: Helinox Chair One XL
We review the ultimate vanlife camp chair in the Helinox Chair One XL.
Overland Travel ⎮ Adventure Photography
We review the ultimate vanlife camp chair in the Helinox Chair One XL.
We review our favorite piece of kitchen gear, our Sea To Summit X-Pot. Read our article for more about this piece of gear!
A functional, affordable, and stylish frame bag for a commute to work or a mulit-day bikepacking expedition from Oveja Negra.
Read our first impression of the Surly Disc Trucker touring bike. The Disc Trucker is an all around bikepacking, gravel grinding, and touring steel bicycle.
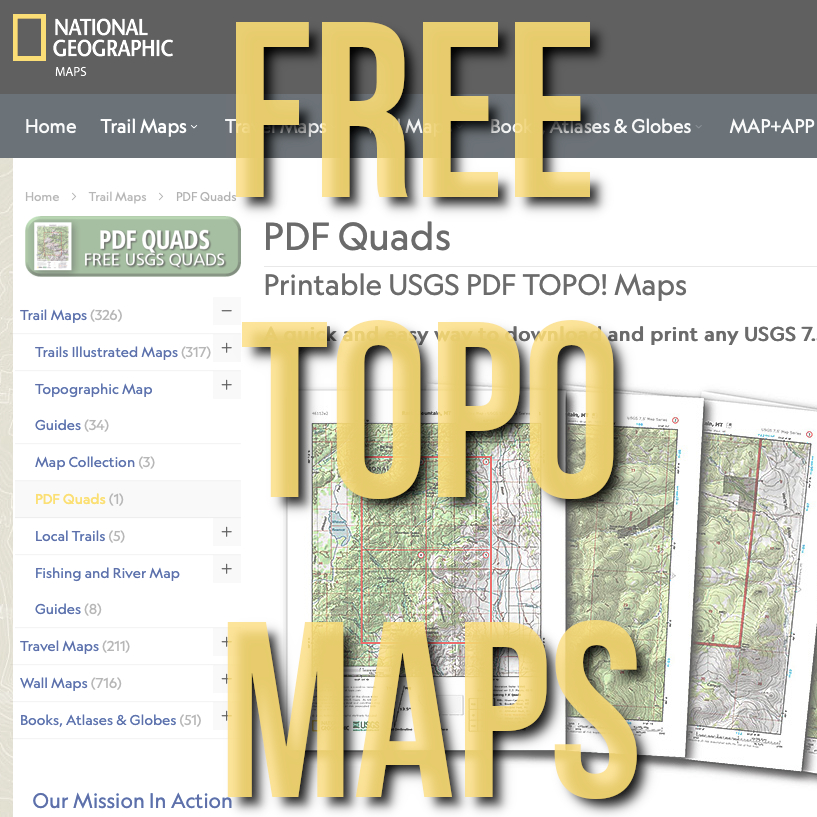
Super easy download of FREE National Geographic Quadrangle Maps of the United States.
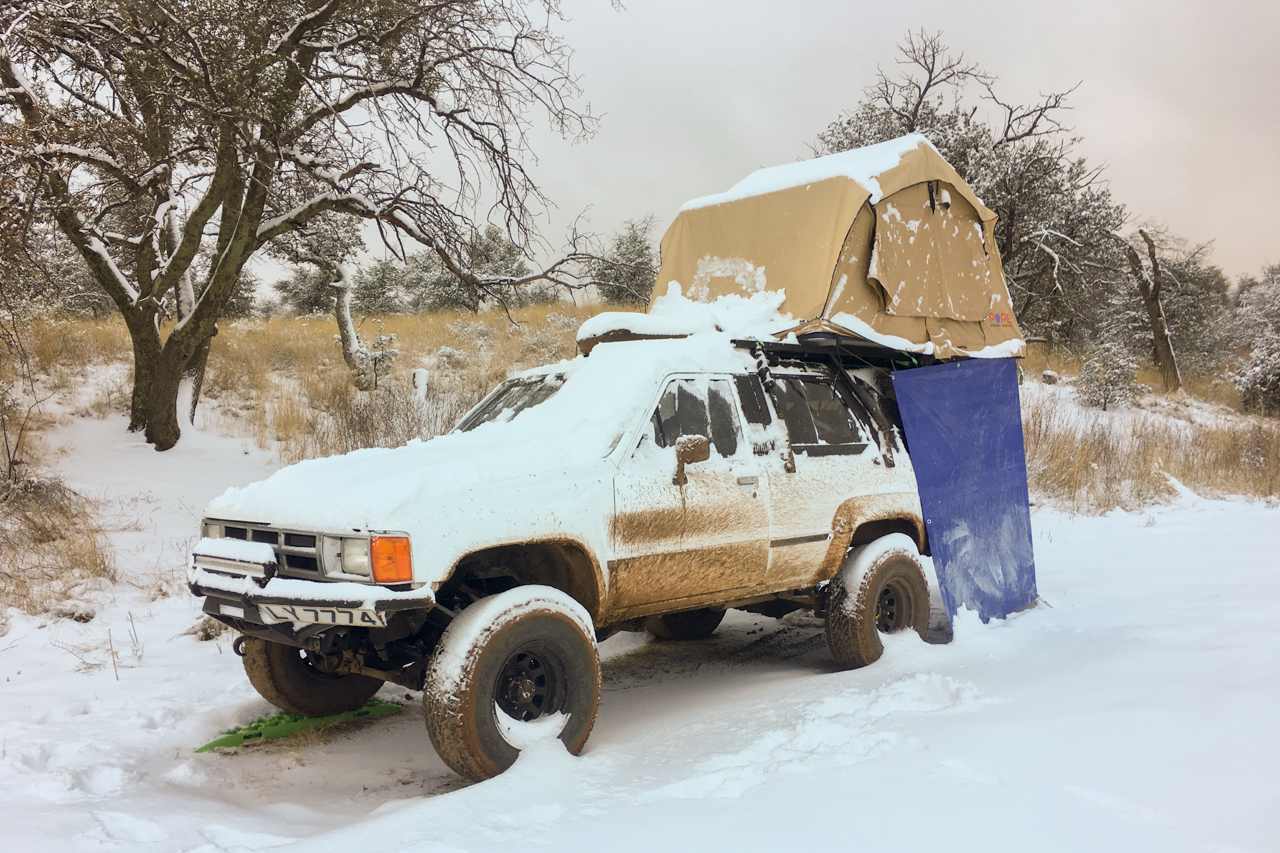
We live in Roof Top Tent FULL TIME! Read up about our first impressions of living in a roof top tent on the road.
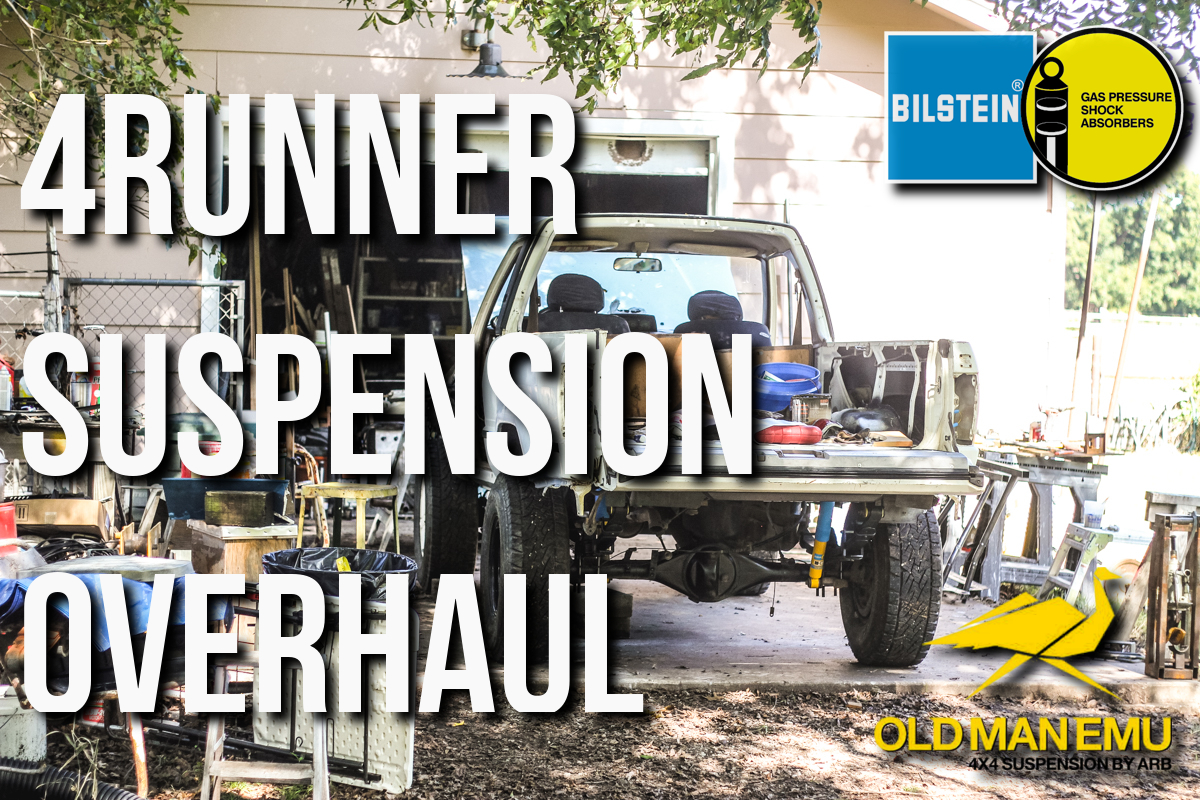
The suspension on our ’86 4Runner was tired, rusted, and inappropriate for the type of travel that we enjoy. The previous setup was an old
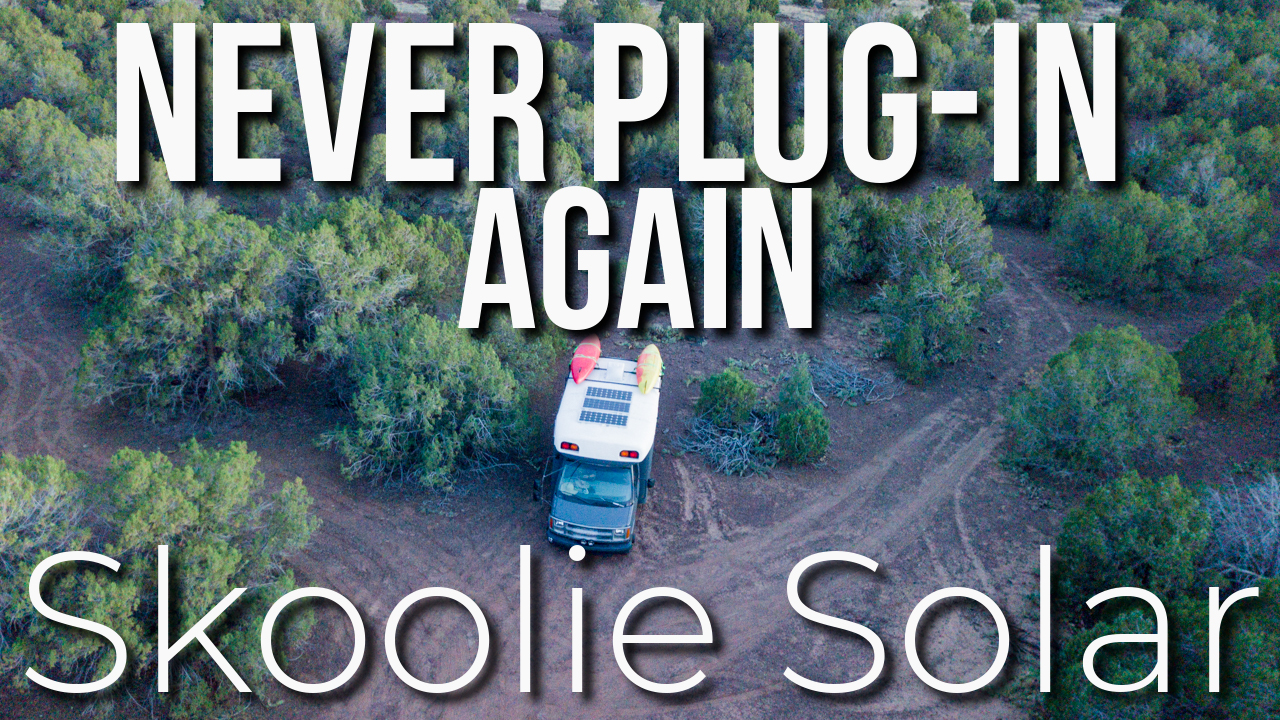
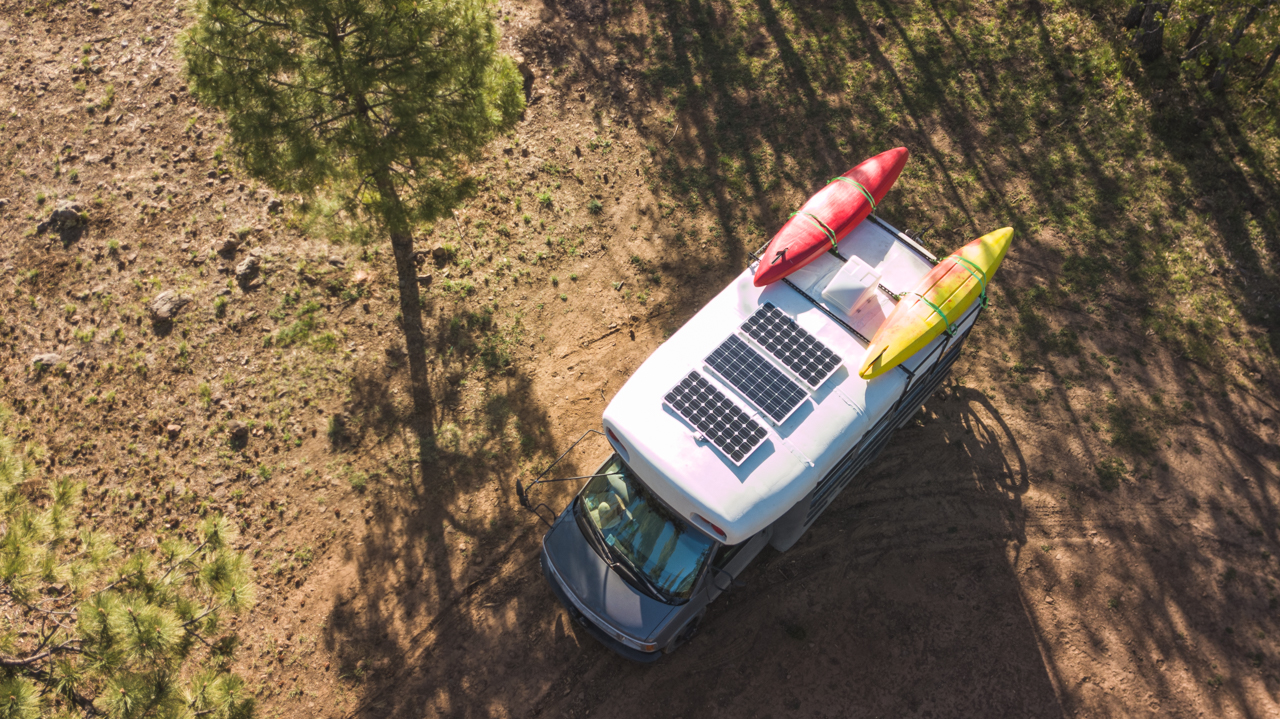
We have posted a new video walking through the solar system installed on our Skoolie conversion. In our video we show you how and where
Know What You Need and How You Will Use It The house electrical system of any conversion or RV is a pretty daunting and scary
When we purchased our bus and began to build it into a tiny home on wheels we were overwhelmed with the options of accessories and