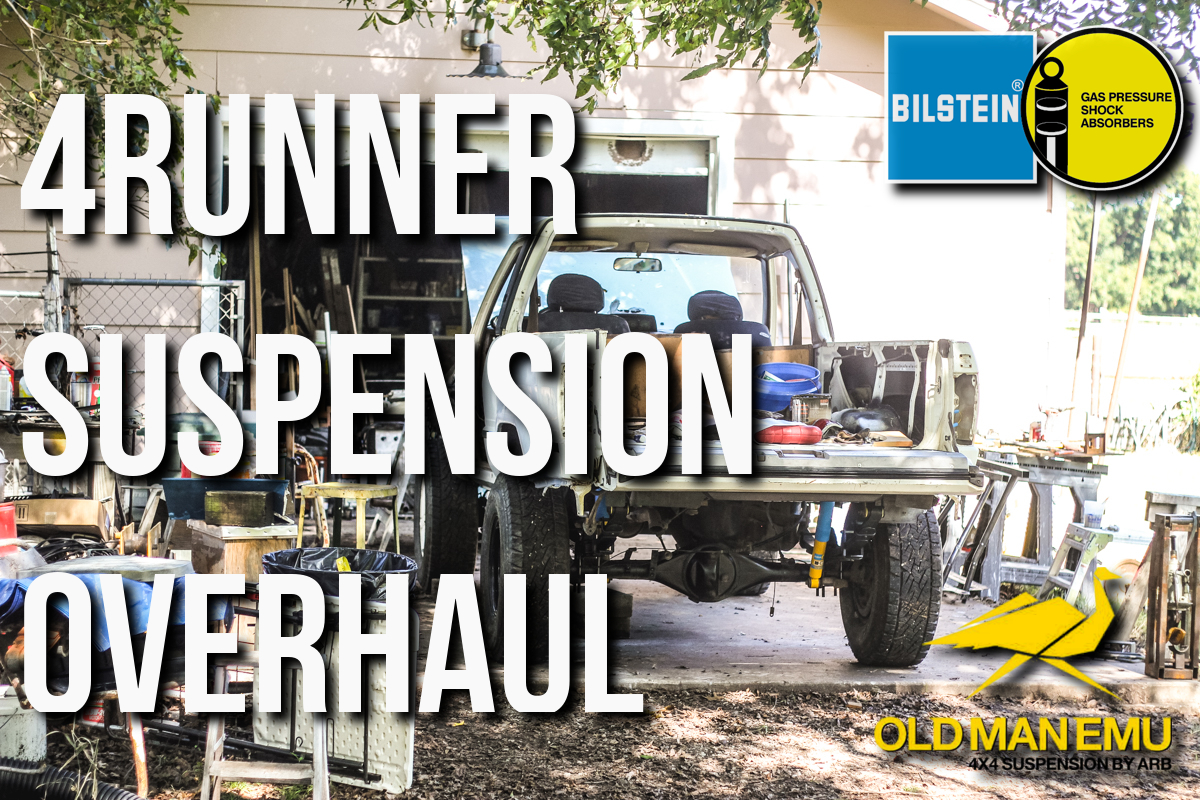
1st Generation 4Runner Suspension Replacement │ Old Man Emu Dakar (MED) │ Bilstein 4600 | 5100
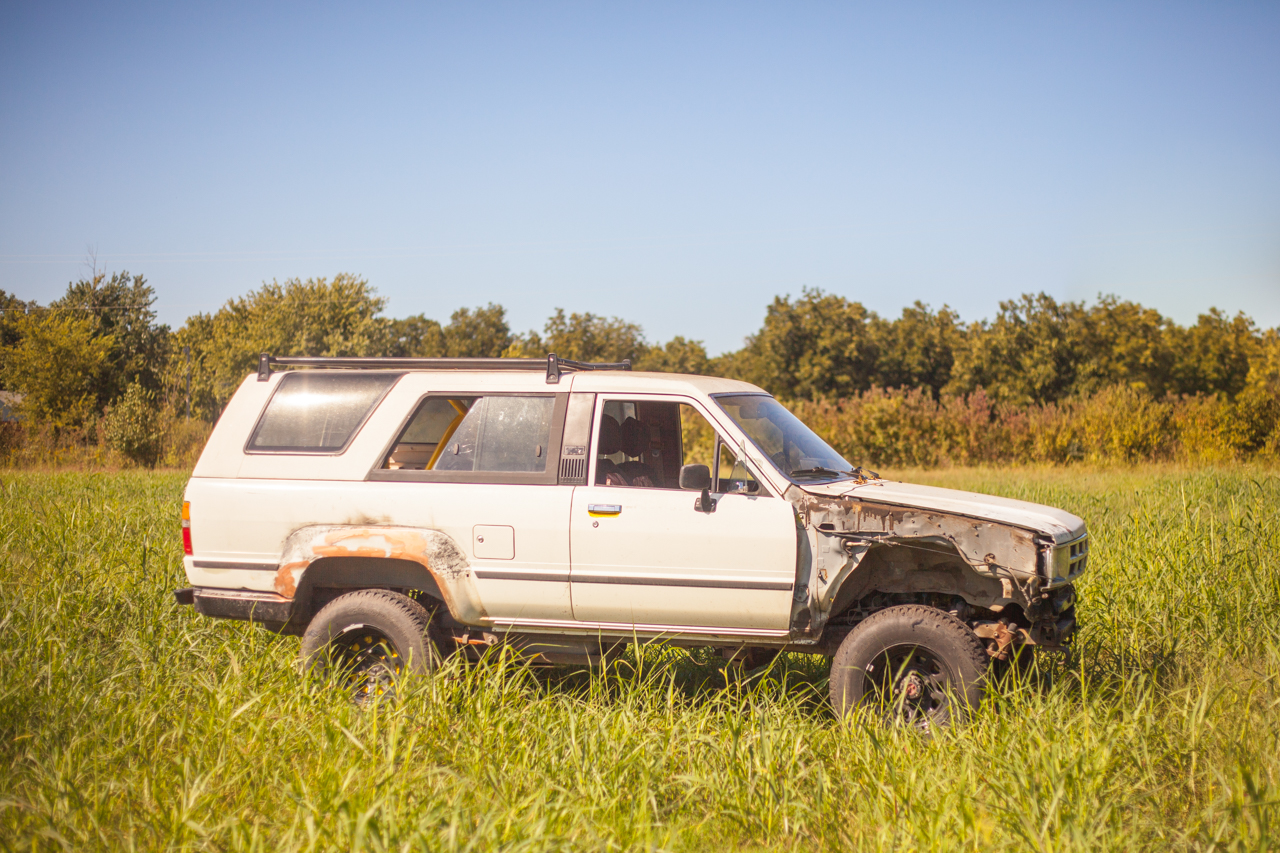
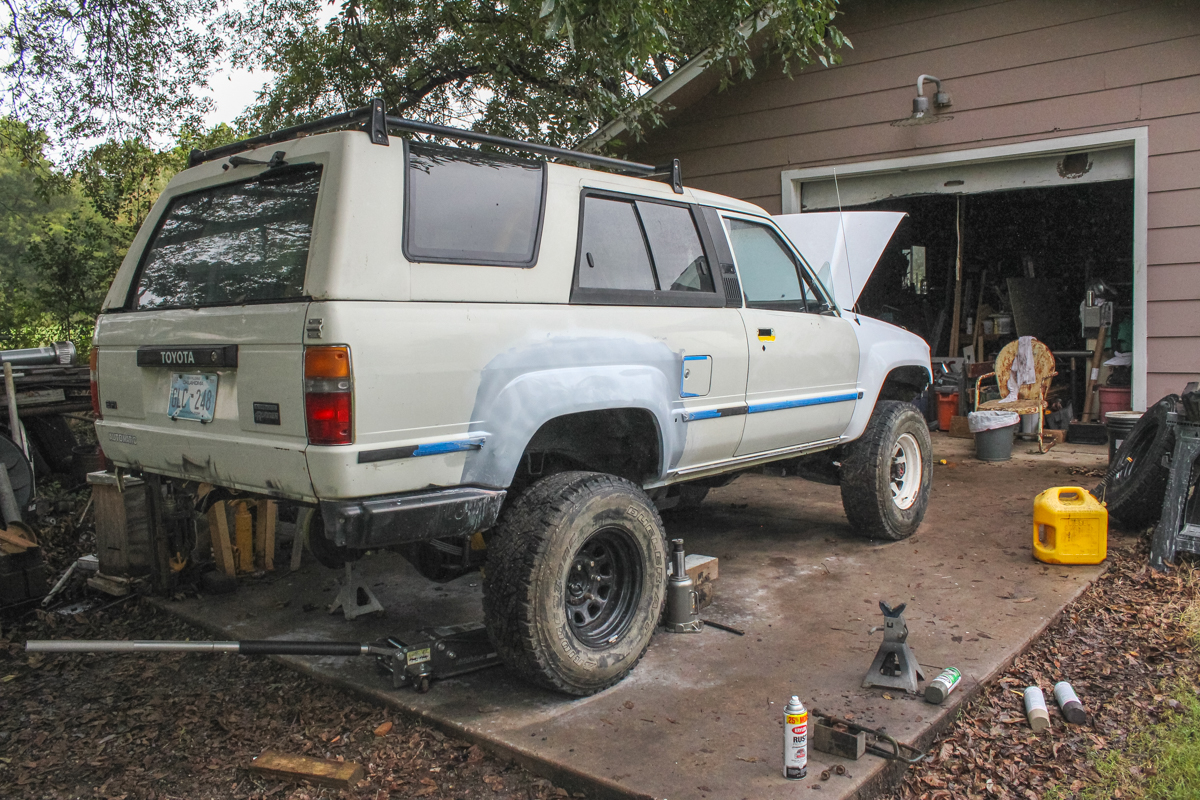
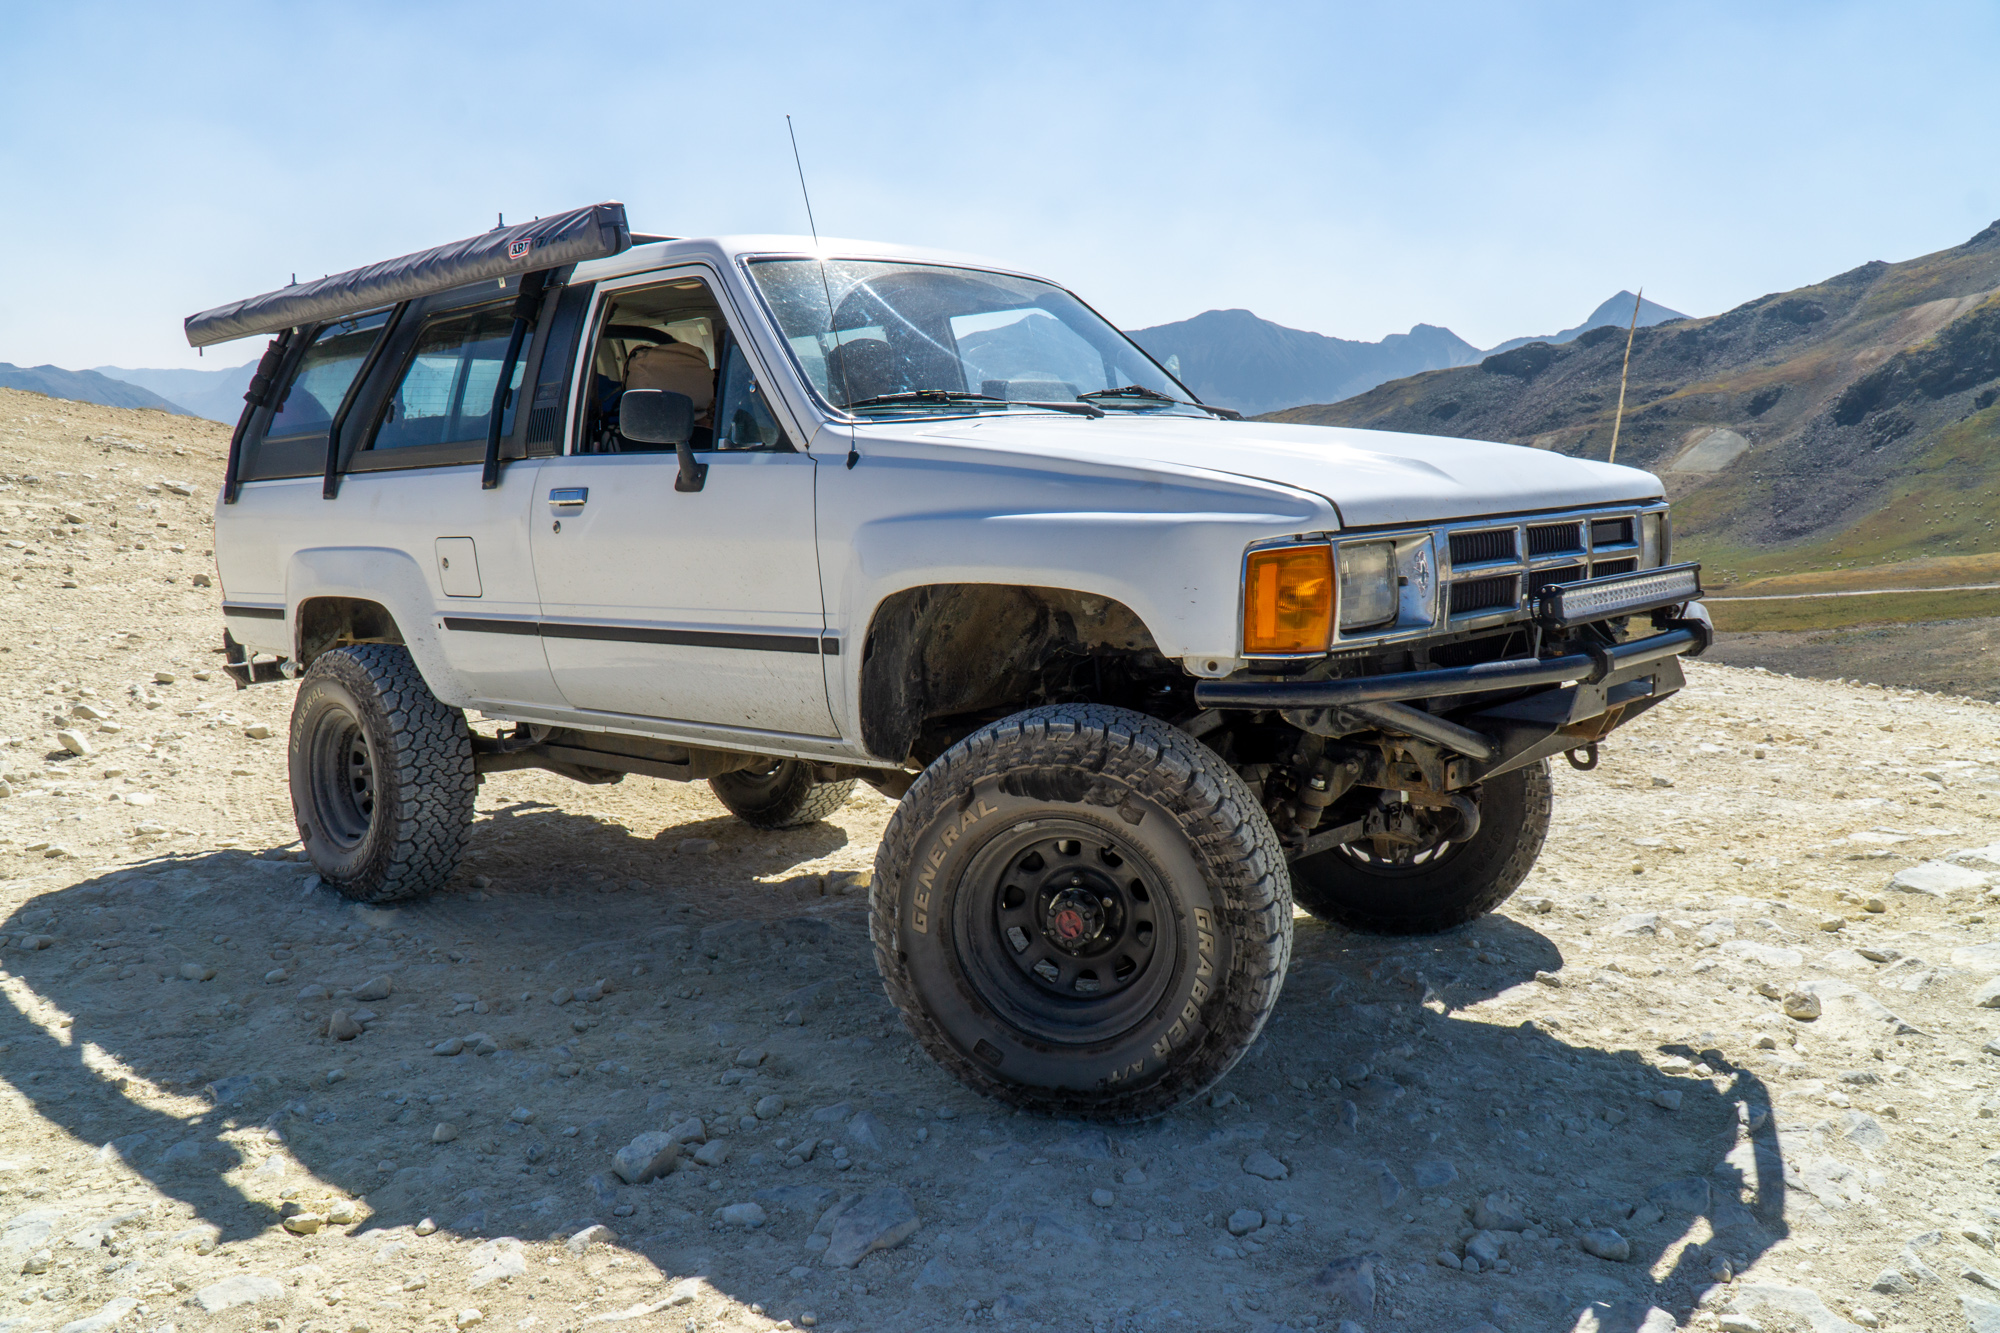
The suspension on our ’86 4Runner was tired, rusted, and inappropriate for the type of travel that we enjoy. The previous setup was an old heavy leaf pack, a 4-inch lift block, and really worn-out shocks. The shocks were so rusted that you couldn’t tell if they were Old Man Emu’s or Monroe AutoZone specials. The leafs were flat and miserable to drive. We are planning to have quite a bit of weight in the rear cargo area of the 4Runner, the new springs should really make a difference with a full load.
The simplicity of these old trucks makes for a really easy suspension replacement. The front torsion bars are still in good shape and have already been cranked to compensate for the rear lift. The lift height on the rear should end up really similar to the previous height, only the new setup will be much more comfortable and will work much better off-road.
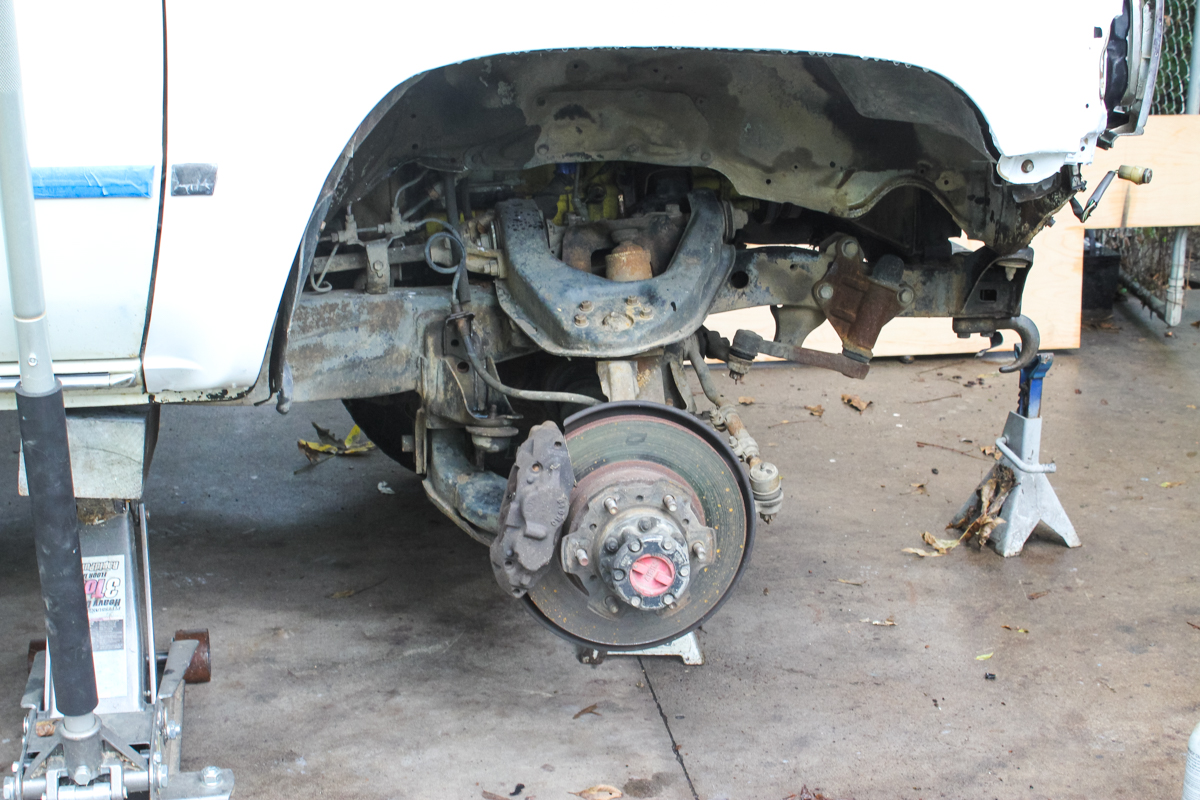
I got to work pulling the front shocks and getting the new Bilstein 4600’s swapped in. This process was very straightforward and went off without a hitch. Remove the bottom shock mounting bolt, the top bolt and the shock slides right out. I am confident that you could still pull the shocks from the front of this truck with the wheels on the ground.
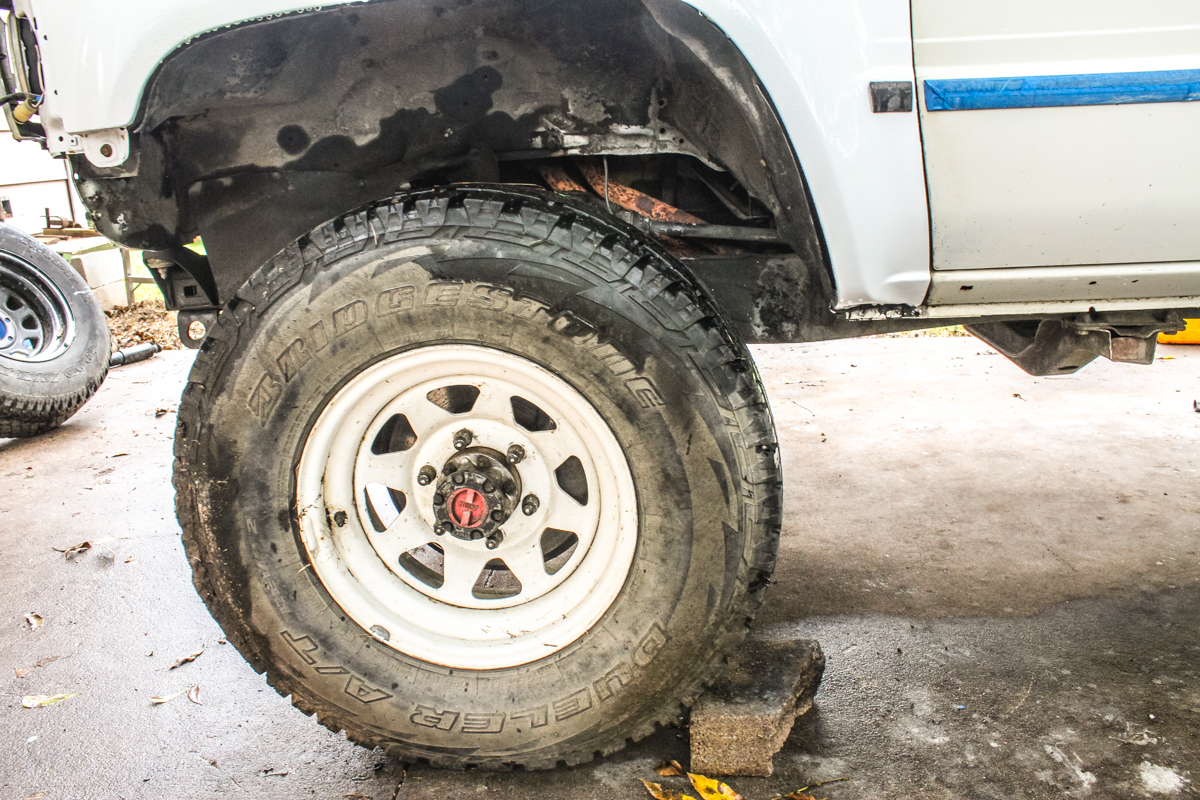
The new shocks are in up front and the temporary wheels are thrown on for the time being. Once we get a chance, we will switch all of the 31″ tires to the black wheels. Until then, they will be mismatched.
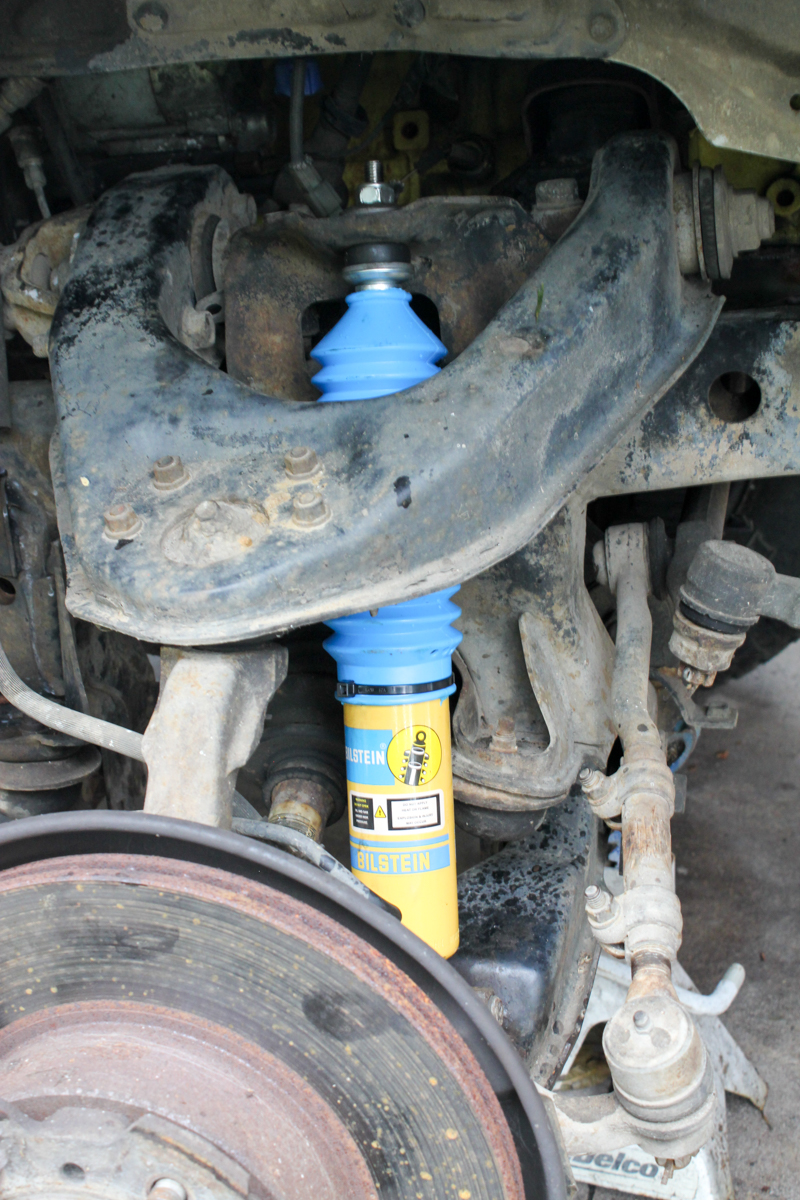
A little word on the shocks that we chose for this build. I have run Bilstein shocks on all of my previous builds for good reason. They are well-made shocks with impressive support. The shocks offer a slightly stiffer ride over stock with much better rebound over rough terrain and they have a lifetime warranty.
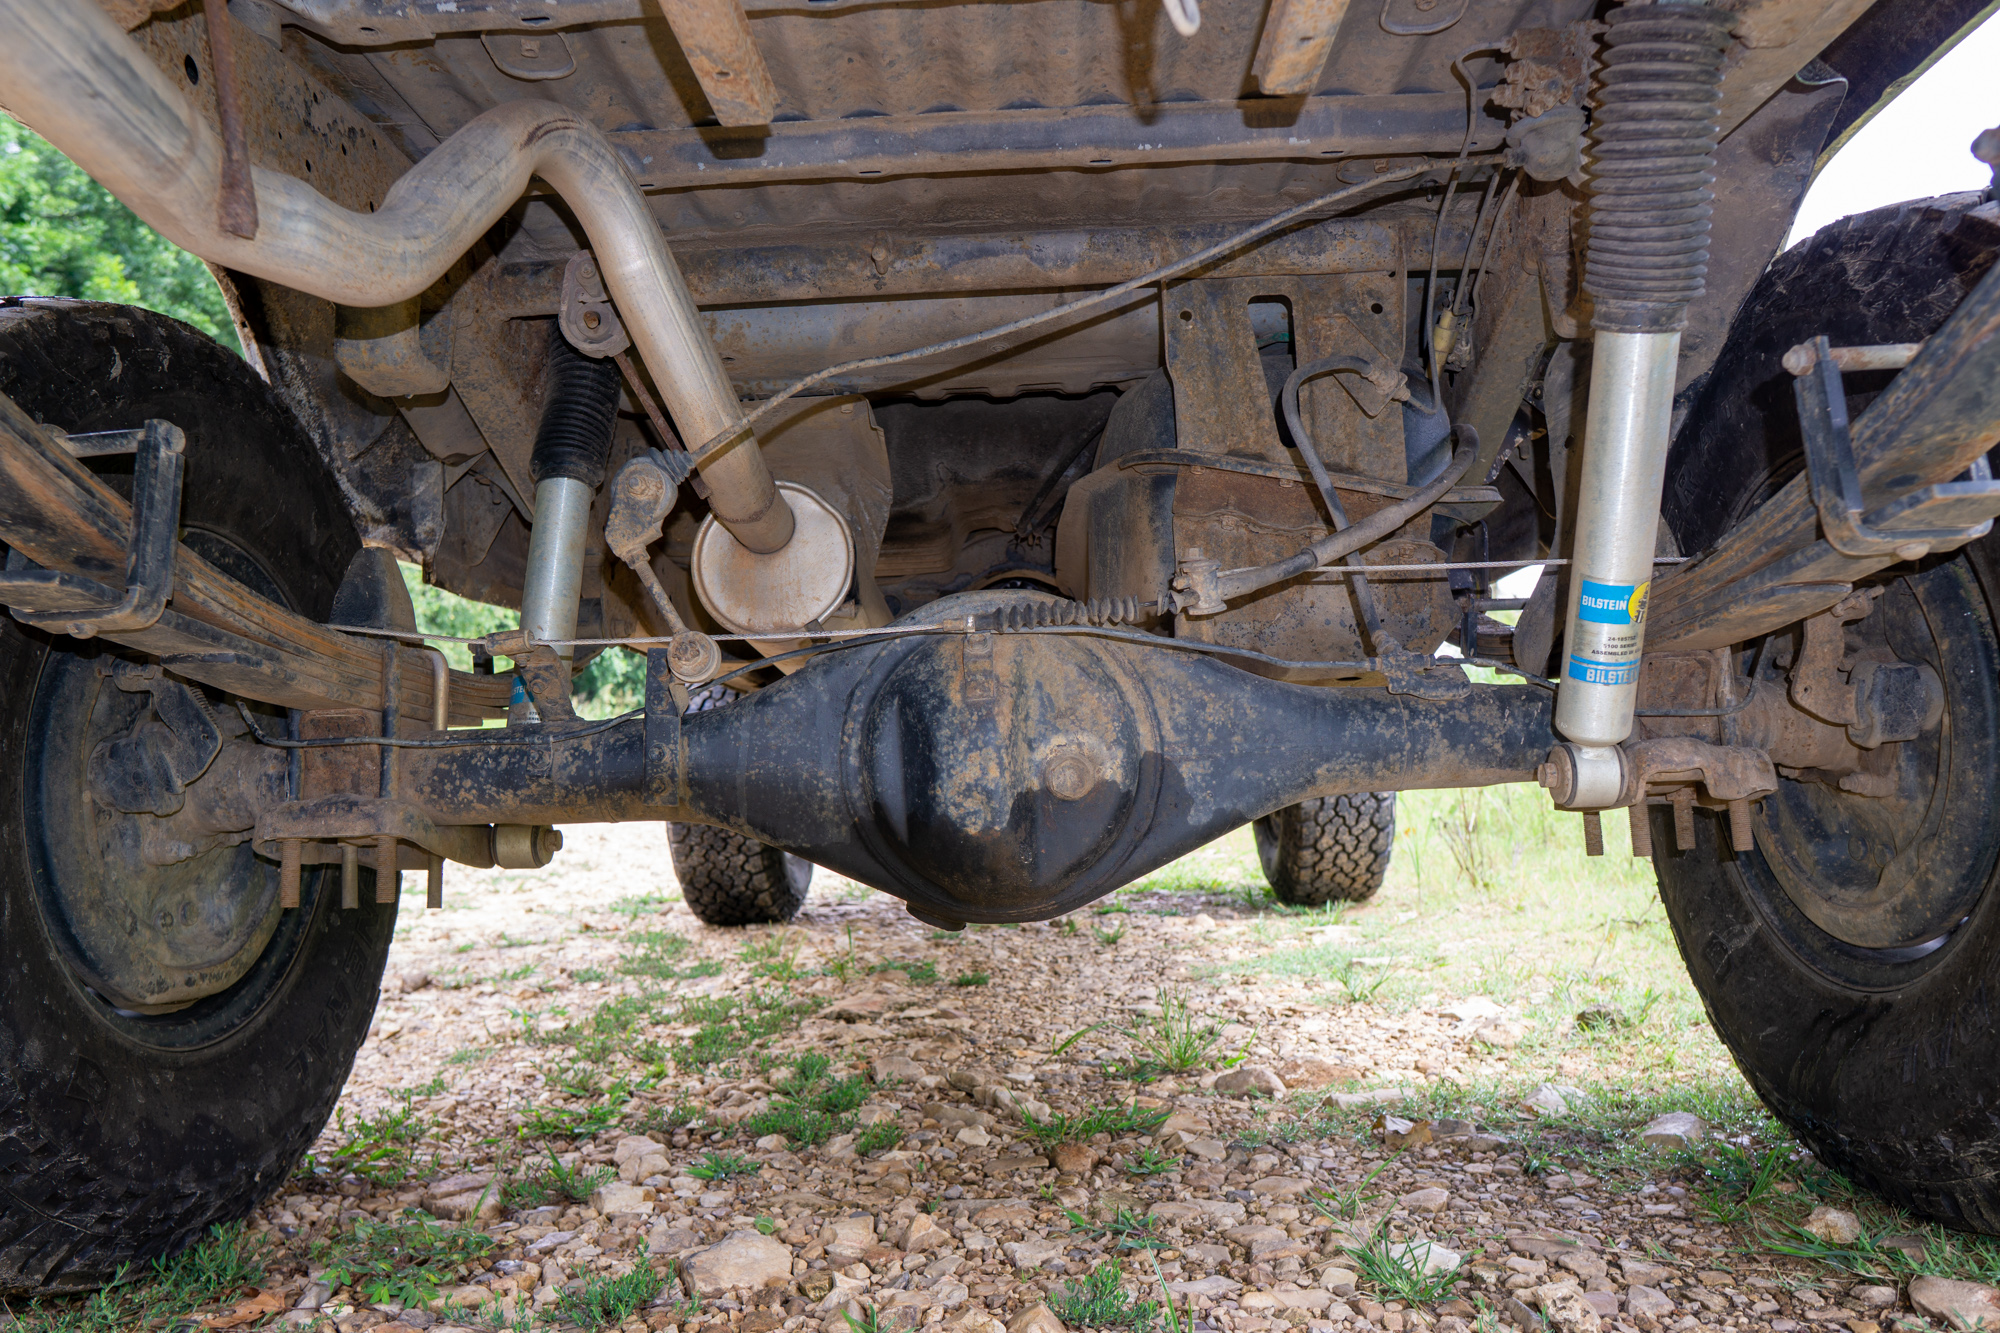
The rears were a little bit more involved since we are replacing the rear leaf springs and shocks. It is still overly simple, but the bolts are a little rusted and the suspension has been extremely mistreated. We soaked the bolts for a few days leading up in penetrating oil to try and loosen them up. I suggest having access to an impact or at least a breaker bar.
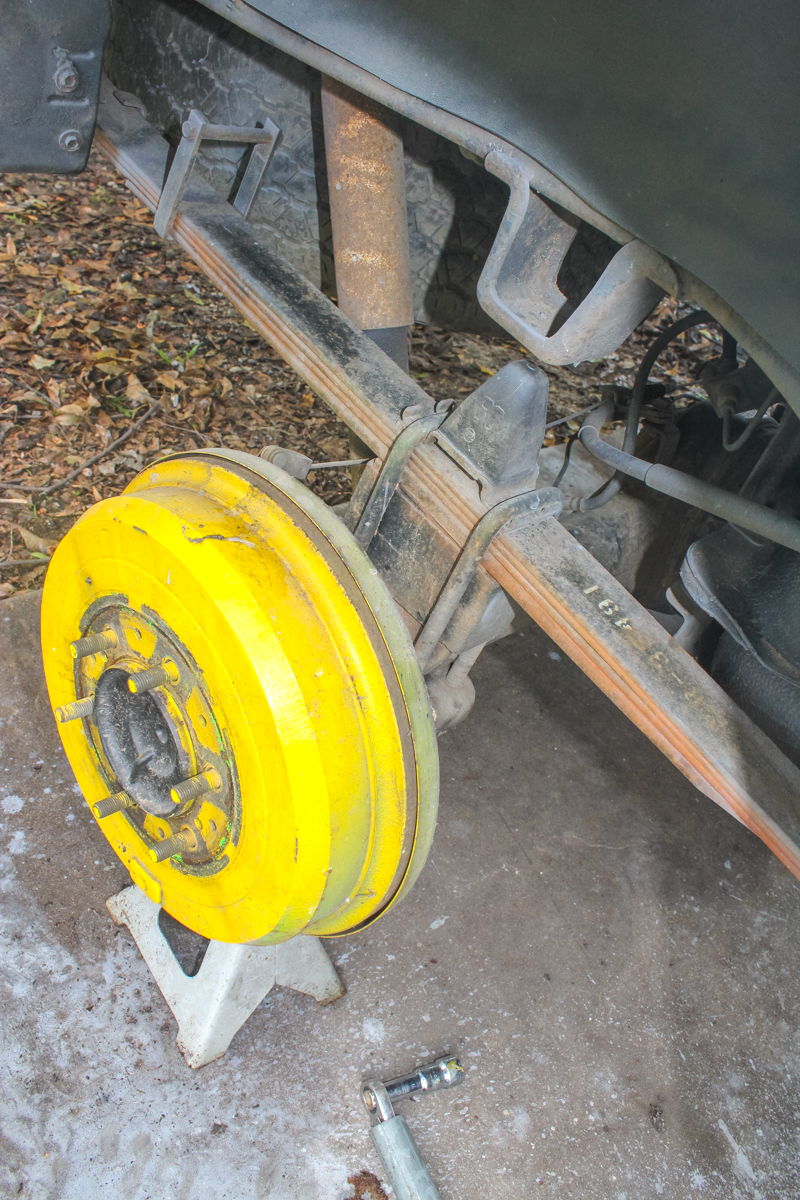
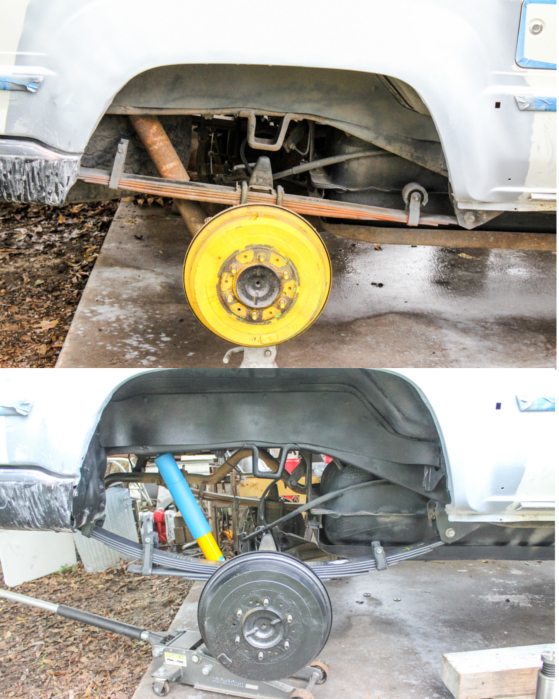
I don’t know what the previous owner intended with the yellow brake drums, but they had to go quickly. I used flat black paint to protect most everything under the wheel wells from further rust and deterioration. Getting the old shocks off was a breeze and removing the springs from the rear shackles was painful. Literally, blood was drawn while trying to get the springs out of the seized bushings. A big hammer and some patience and the rear suspension was in pieces.
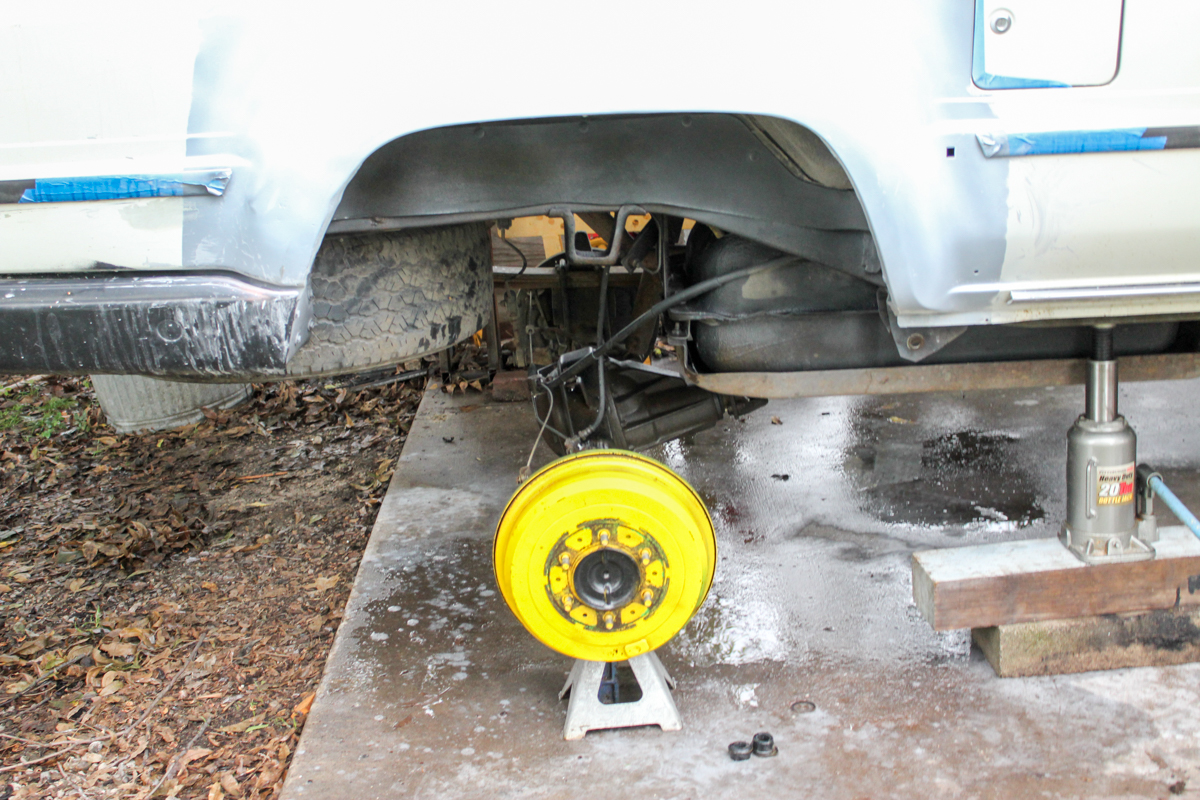
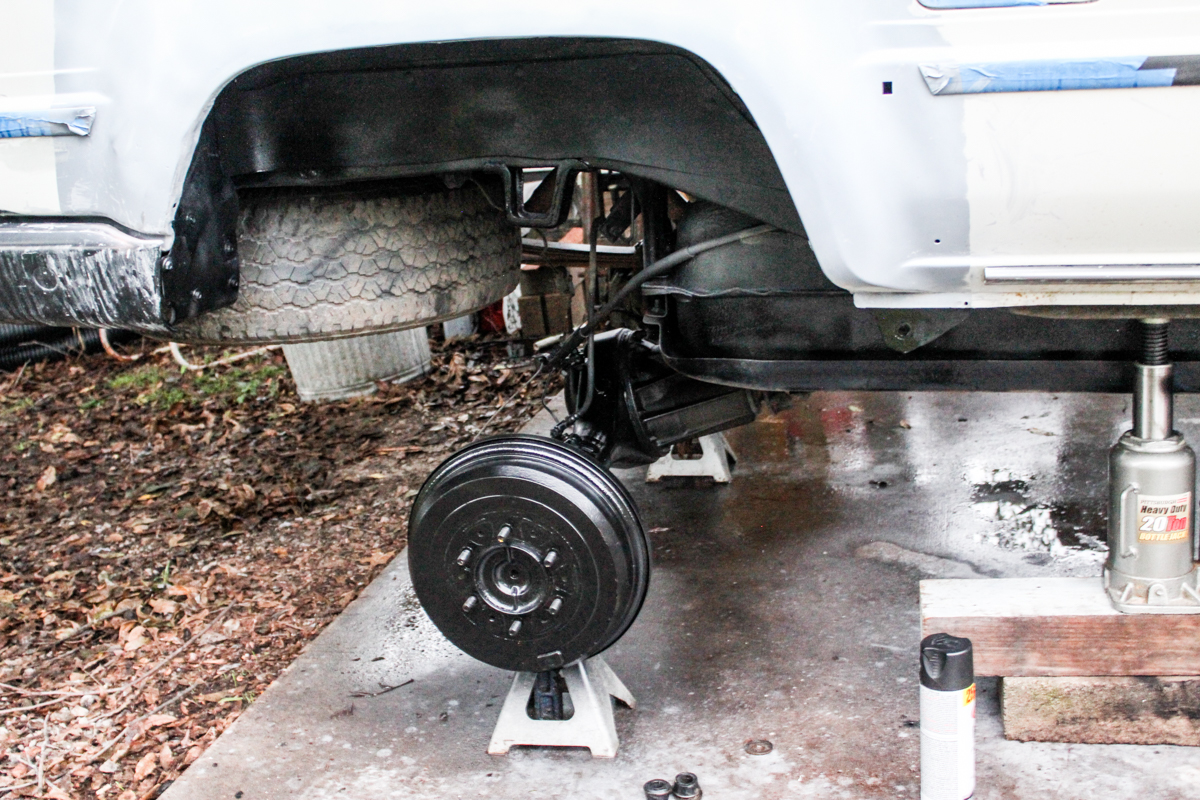
The shackles were almost impossible to get off without dropping the rear tire. I went to drop the tire and found the bumper installed by the previous owner hindering my access to the spare.

We got to work pulling the bumper and setting it aside for our swing-out bumper project. Once the bumper was out of the way, the spare came down with ease, hopefully to never be hung in that spot again.
The Old Man Emu CS009R Leaf Springs went in without much issue and looks so much better already. The spring angle is 100% better and the 4600 shocks are perfect for the mild OME lift with one small issue. The OME lift is advertised as a 2″ lift. It is more like a 3-4″ lift and as of right now (empty truck, no topper) the shocks are the limiting factor on the rear. This is not ideal and we are going to keep an eye on this moving forward.
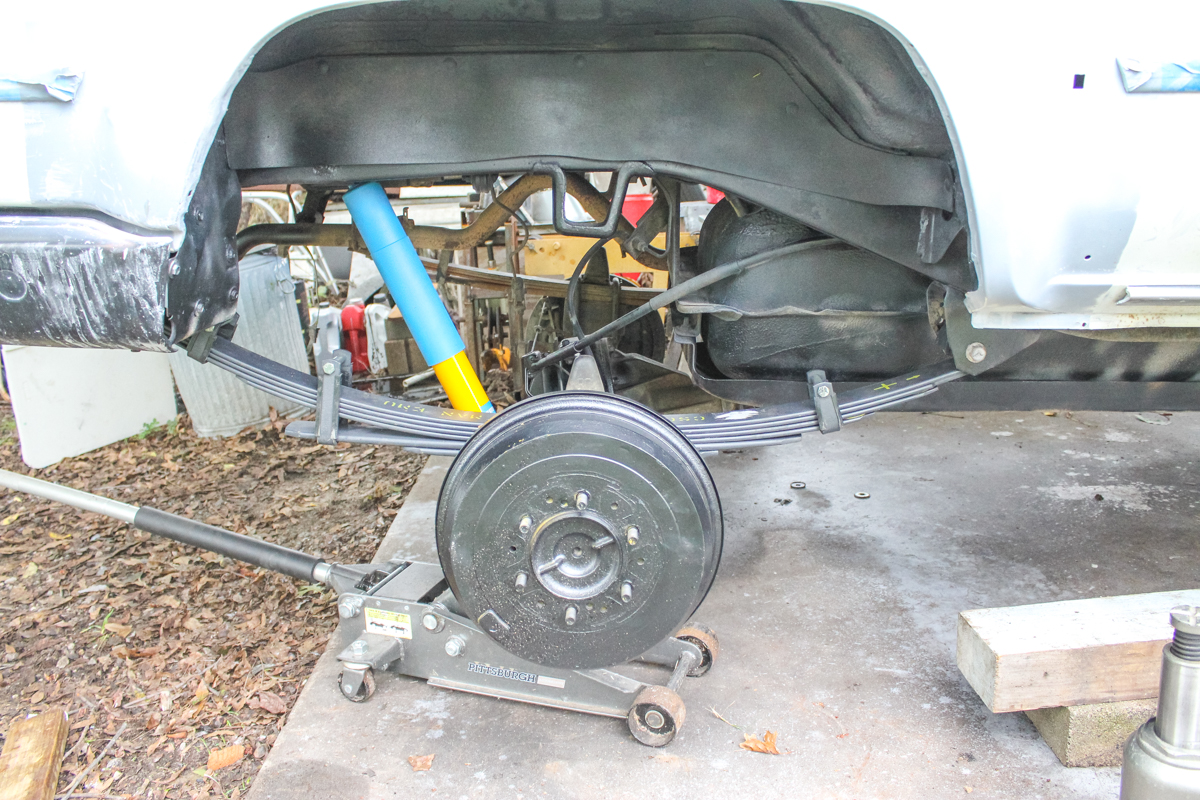
There is a reason that when you speak to Toyota gear heads, they all recommend Old Man Emu/ARB for suspension components on these rigs. They are proven, reliable, and tough. Short of installing a custom spring combination, this setup is hard to beat. We will see how these springs hold up on the road, on washboard Forest Service tracks, and on off-road trails.
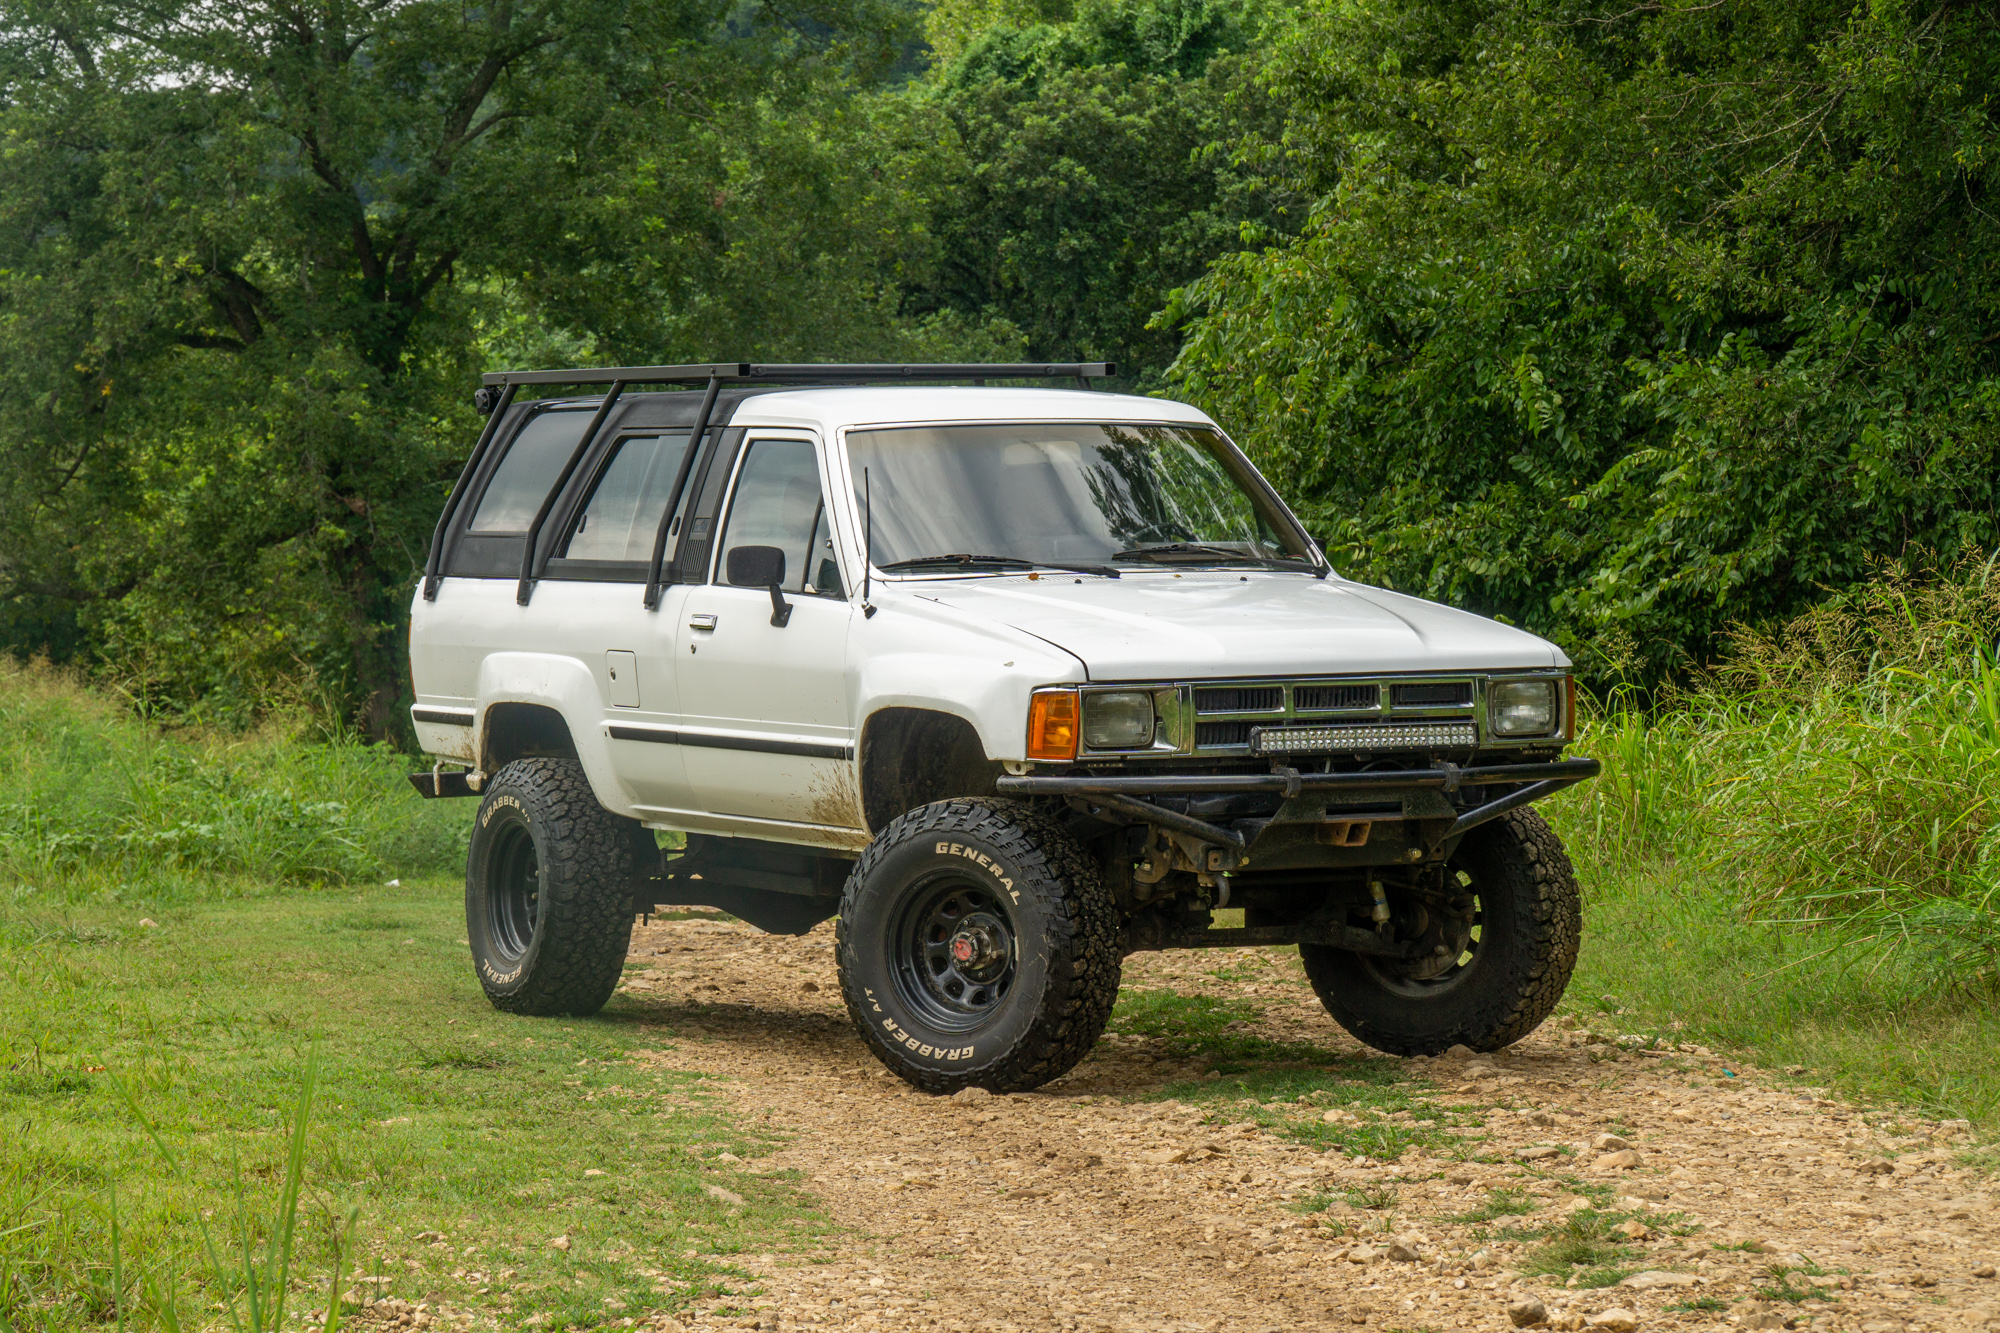
New shocks all around and new springs in the rear make for a really good ride height and hopefully a really solid setup to build on. The beauty of this setup is that if the rear proves to be lacking, it’s easy to add an Add A Leaf (AAL) to the rear pack. We will report back with real-life results from our time on the road and update our impressions of this setup once we have had a chance to use it a bit.
Old Man EMU CS009R Rear Leaf Springs
Update: Bilstein 5100s, Torsion Bars, and Ball Joint Spacers
We shook down our Bilstein 4600 shocks on a few off-road trips and found them to be extremely limited. Some combination of the more agressive springs and the 4600s was not compatible with daily driving comfortably. We opted to match the rear lift with stiffer Old Man Emu torsion bars, a ball joint spacer, and Bilstein 5100 shocks.
Installation of these parts was obviously similar to the first iteration of our suspension, but the changes were dramatically better. The truck alligned easier, the ride was nearly stock-feeling with a bit of firmness and a “planted” feeling. This is the suspension setup that we should have gone with in the beginning.

Ultimate Budget Friendly Suspension lift for 1986-1995 Toyota 4Runner
Old Man Emu 303003 Torsion Bars
Old Man EMU CS009R Rear Leaf Springs
AJP Distributors Front 2.5″ Ball Joint Spacers
One way to stay up to date with our adventures is to follow us on social media. We share photos, videos, and travel updates about where we are going and what we are doing.
Follow us on Facebook
Follow us on Instagram
Follow us on YouTube
As we always strive for transparency when displaying aspects of our nomadic lifestyle you should know that all of the links included in this article are affiliate links through Amazon.com. For every purchase that you make from one of these links, we receive a small amount and you don’t pay any extra. These links are one way that stay on the road longer, so thank you for your support of our adventures!