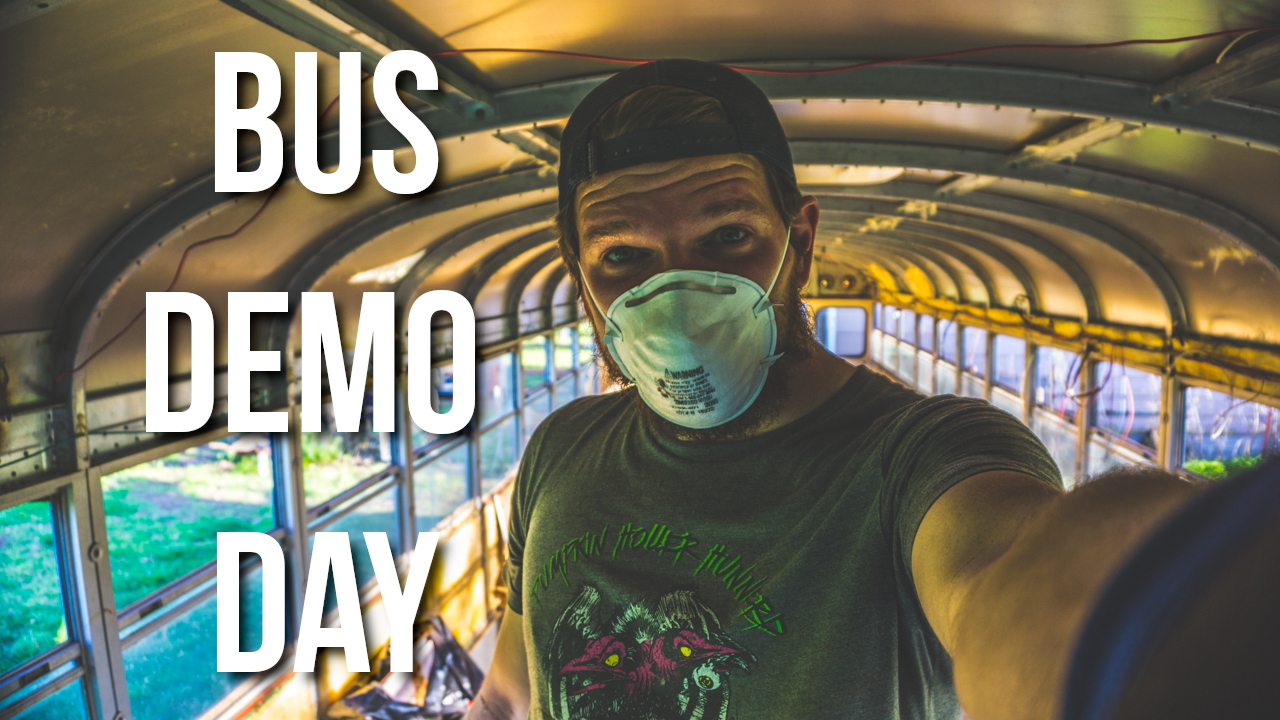
Okienomad’s Full Size School Bus Build: Removing Walls, Floor, and Ceiling
We remove all interior sheet metal and insulation inside Big Blue. We also remove the plywood floor that is damp and has caused rust.
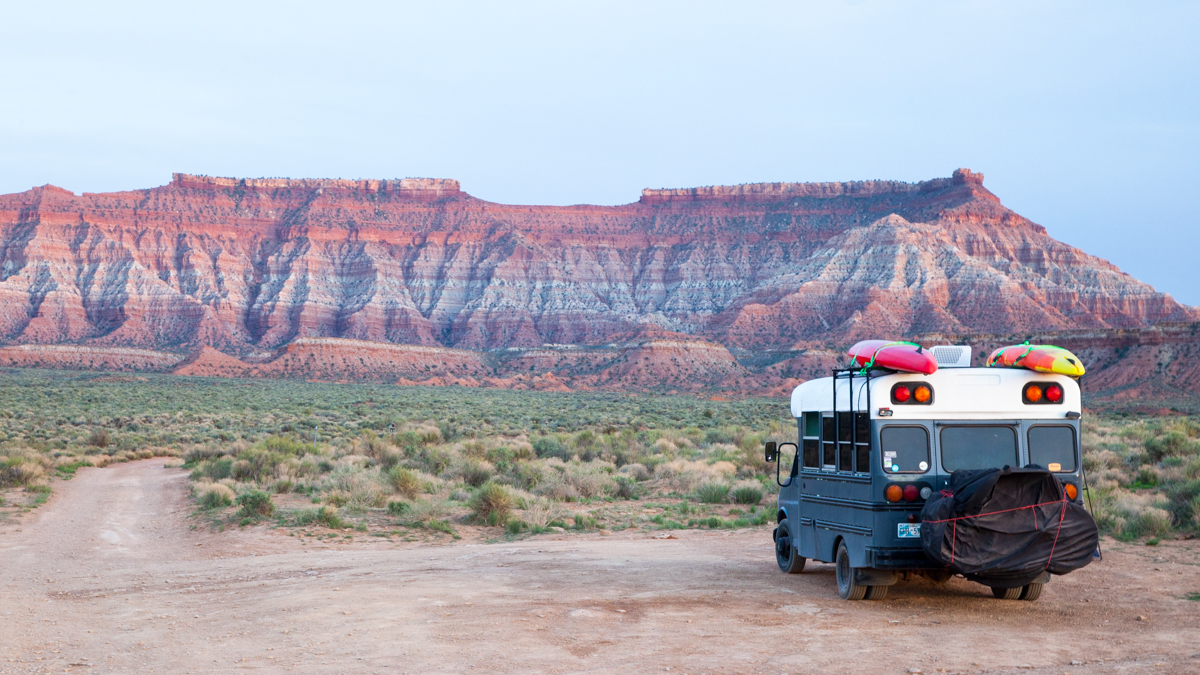
Overland Travel ⎮ Adventure Photography
We remove all interior sheet metal and insulation inside Big Blue. We also remove the plywood floor that is damp and has caused rust.
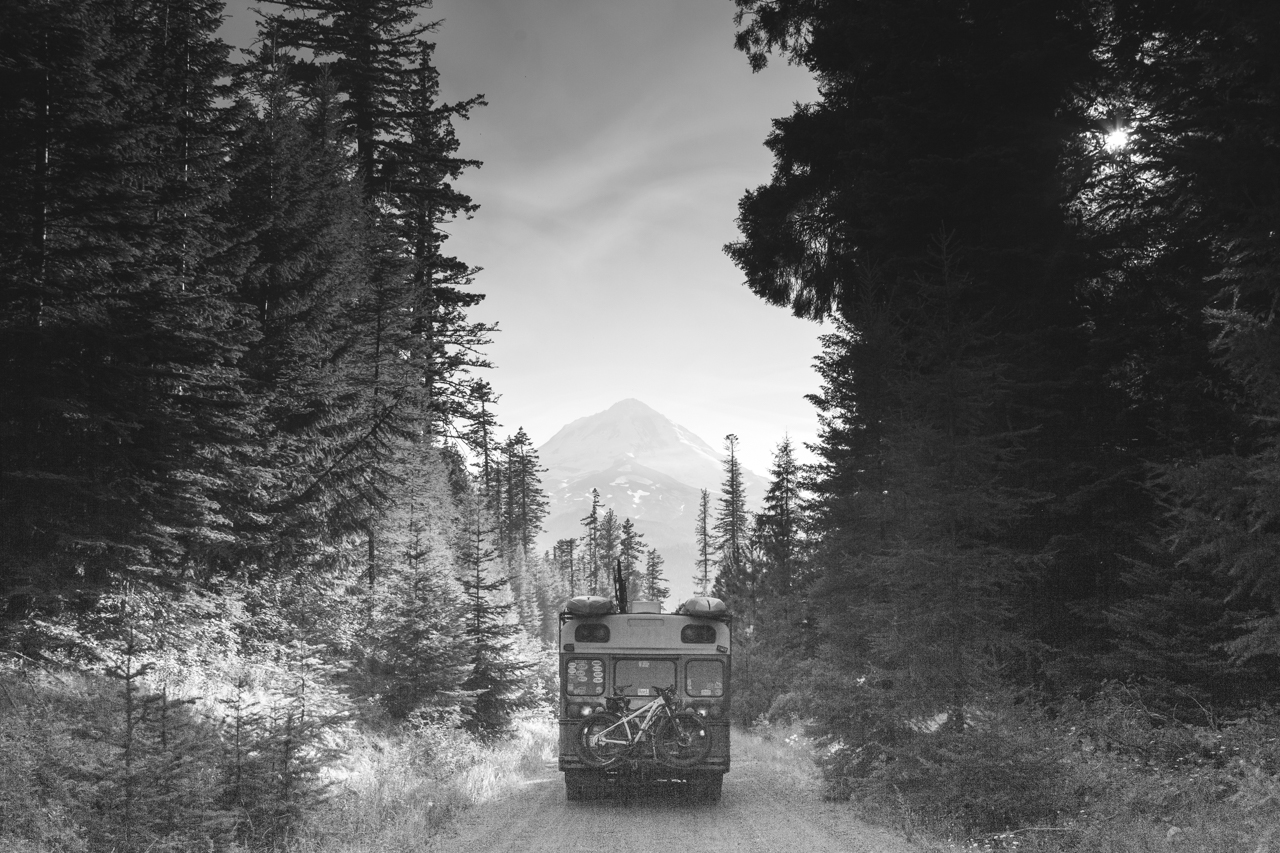
Free Camping in Oregon was as easy as we expected but not nearly as beautiful as we had thought. These campsites, however, allowed us to
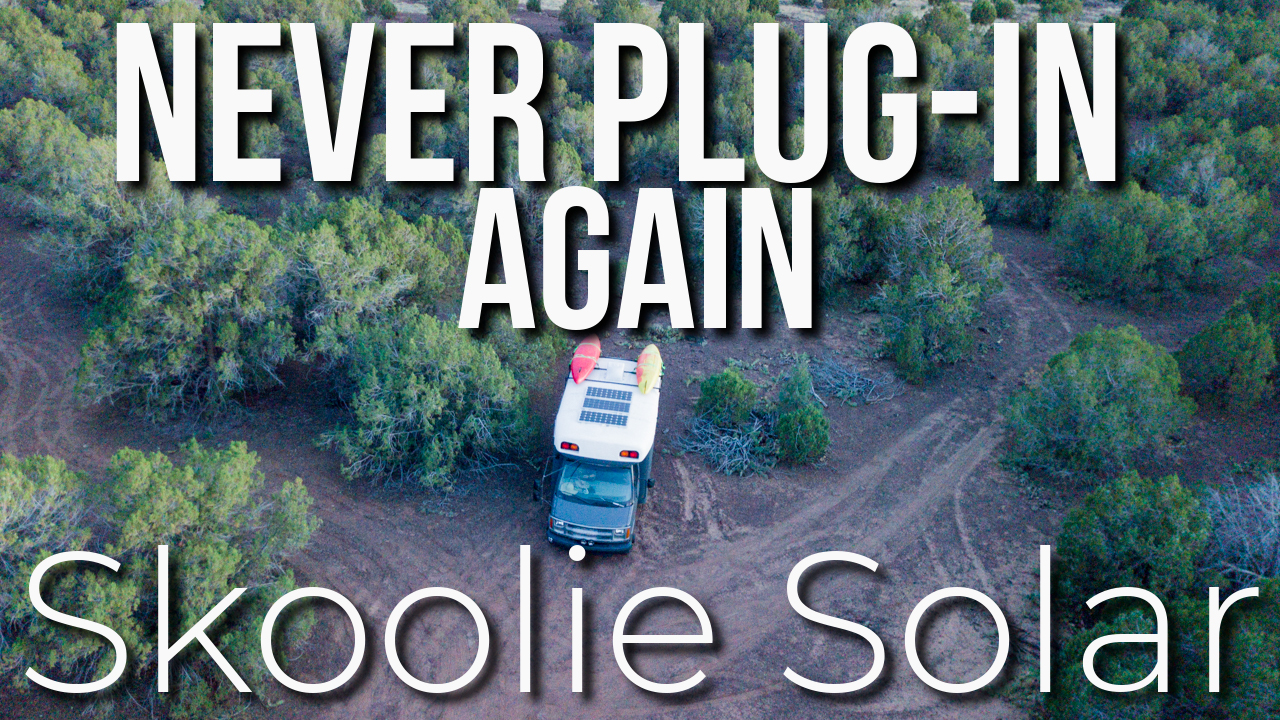
We have posted a new video walking through the solar system installed on our Skoolie conversion. In our video we show you how and where
We painted our bus in a hurry and ended up with a really good looking paintjob thanks to help from my grandparents, parents and Rachael’s
I hope you have had a chance to read Part 1 of this article before reading this one. In the first article on this topic
I need to clear this up before we get to the good stuff: My wife and I live in a school bus conversion, by choice.
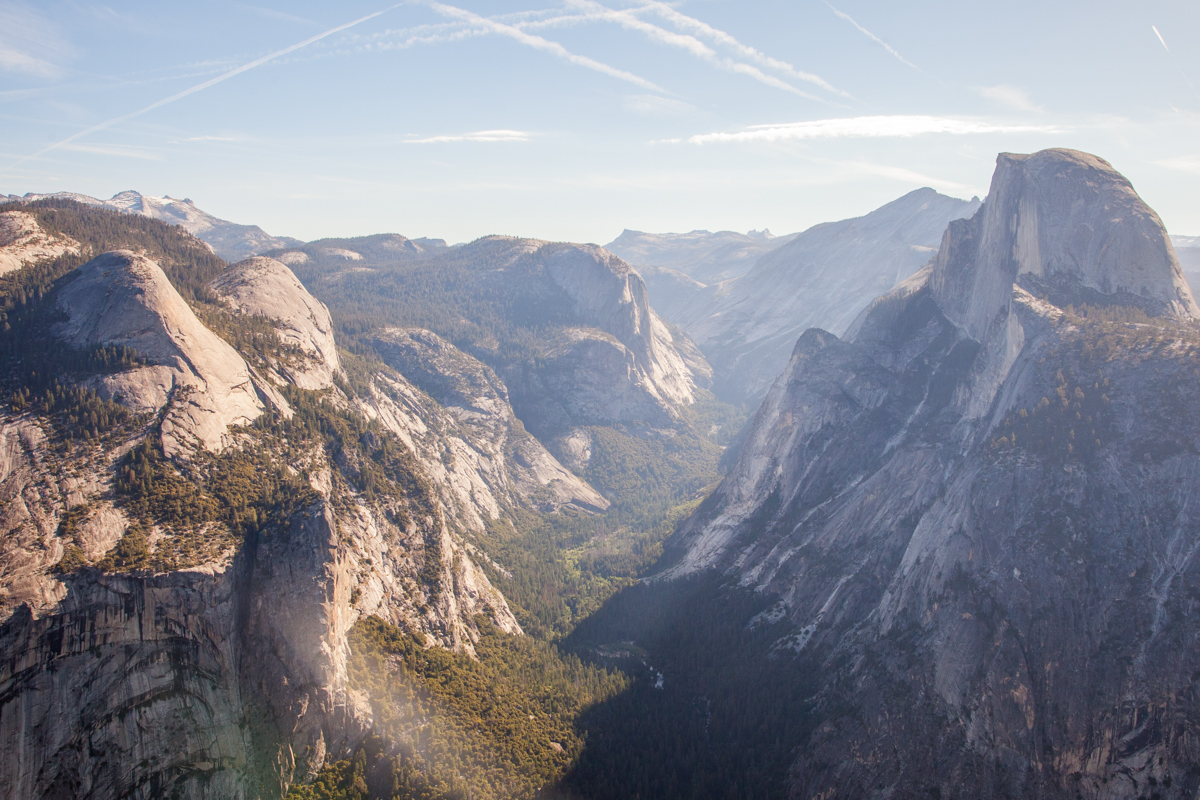
Entry into the Sierra Mountain Range was special for both of us. Neither of us had ever been to this part of the country and
Since transitioning to a nomadic lifestyle, we have found more and more ways to reduce our environmental impact. Below are five ways that we have
We were pleasantly surprised to find more than enough FREE camping SoCal and we didn’t have to camp in a Wal-Mart parking lot! Below are
We had a ball in Arizona! From backpacking in the Grand Canyon for 5 days to volunteering at a massively cool event (Overland Expo), to