DENALI D7 Off-Road Lights First Impression Review|1986 Toyota 4Runner
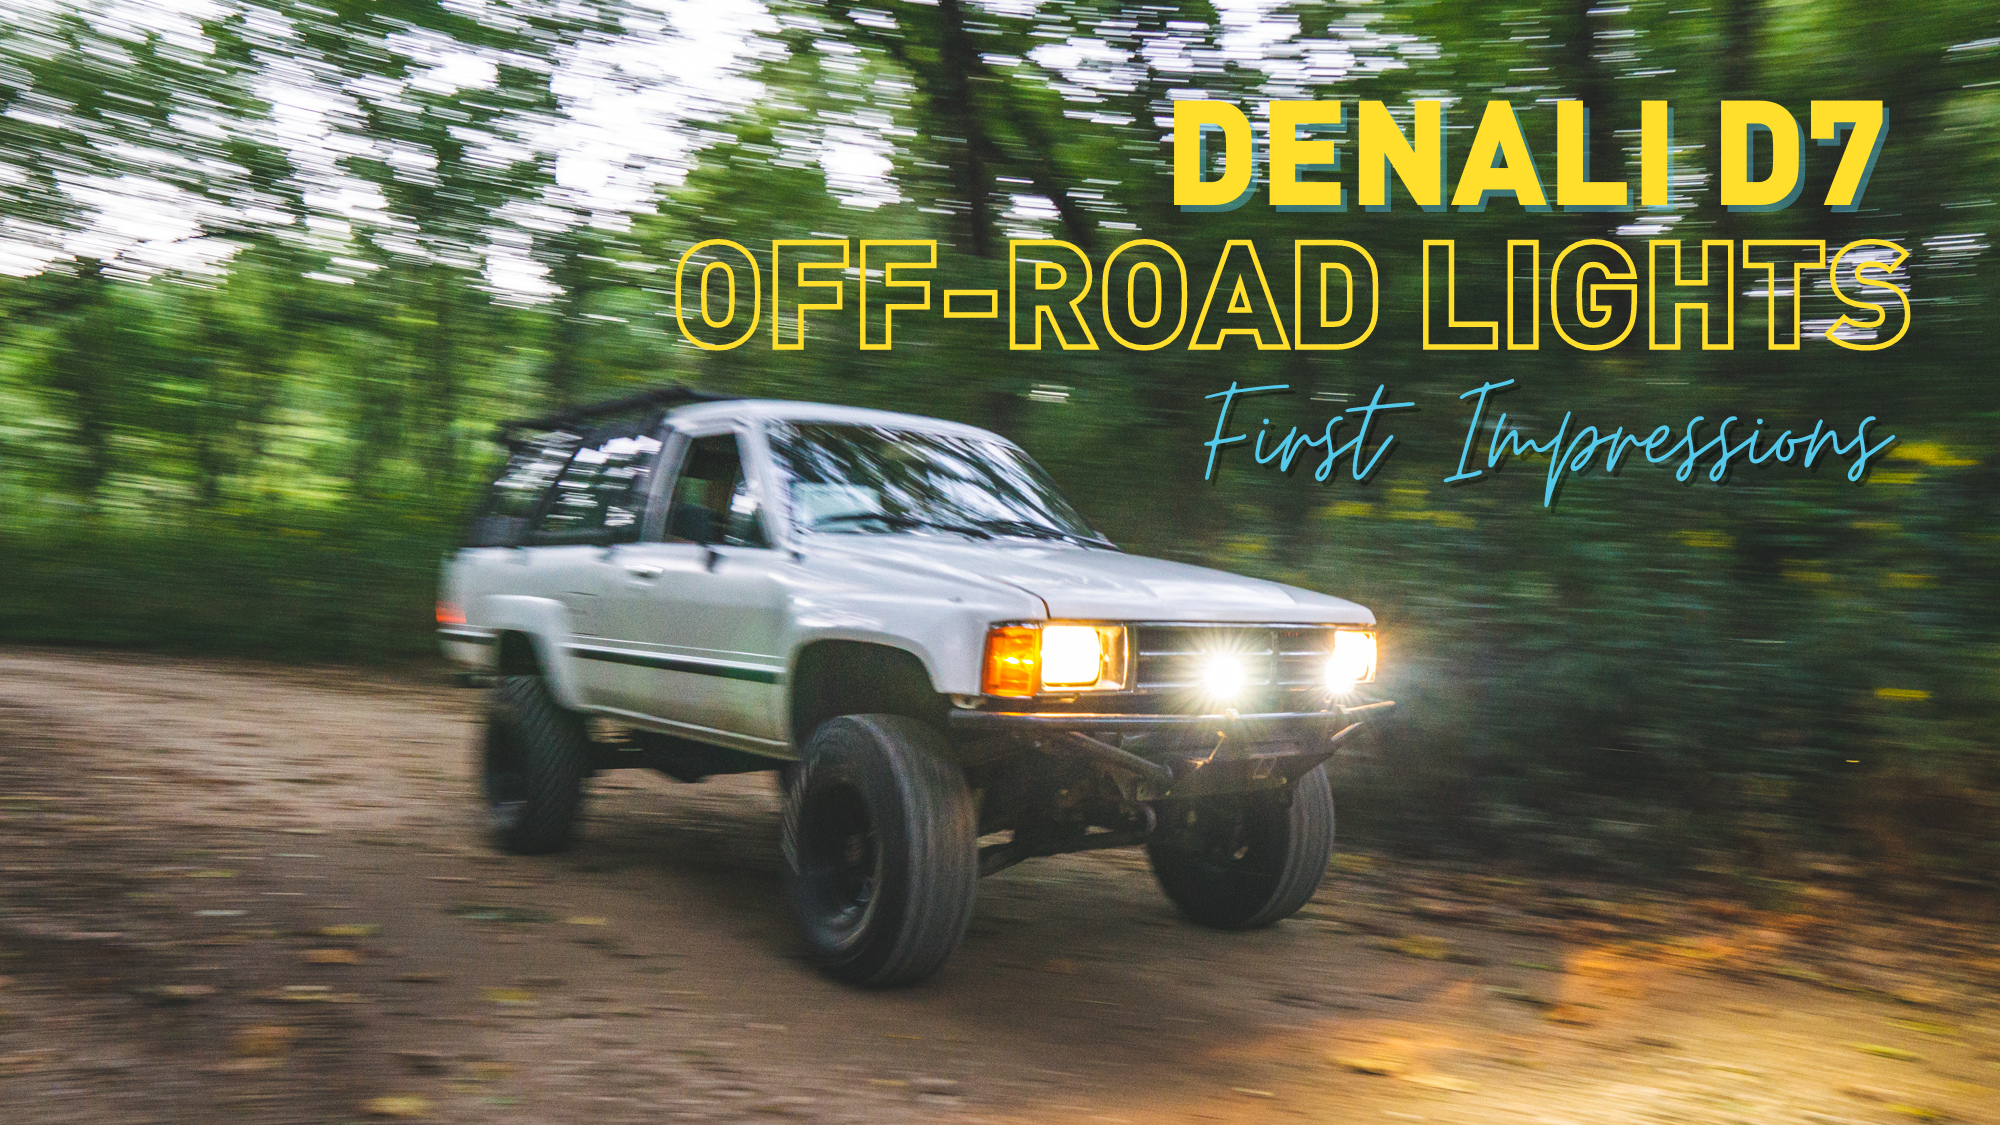
These Lights Are Ridiculously Bright We had the opportunity to test the DENALI D7 LED Auxiliary light set and spoiler alert, we were blown away
Overland Travel ⎮ Adventure Photography
These Lights Are Ridiculously Bright We had the opportunity to test the DENALI D7 LED Auxiliary light set and spoiler alert, we were blown away
Check out how we built a custom roof rack for our 1st Generation Toyota 4Runner.
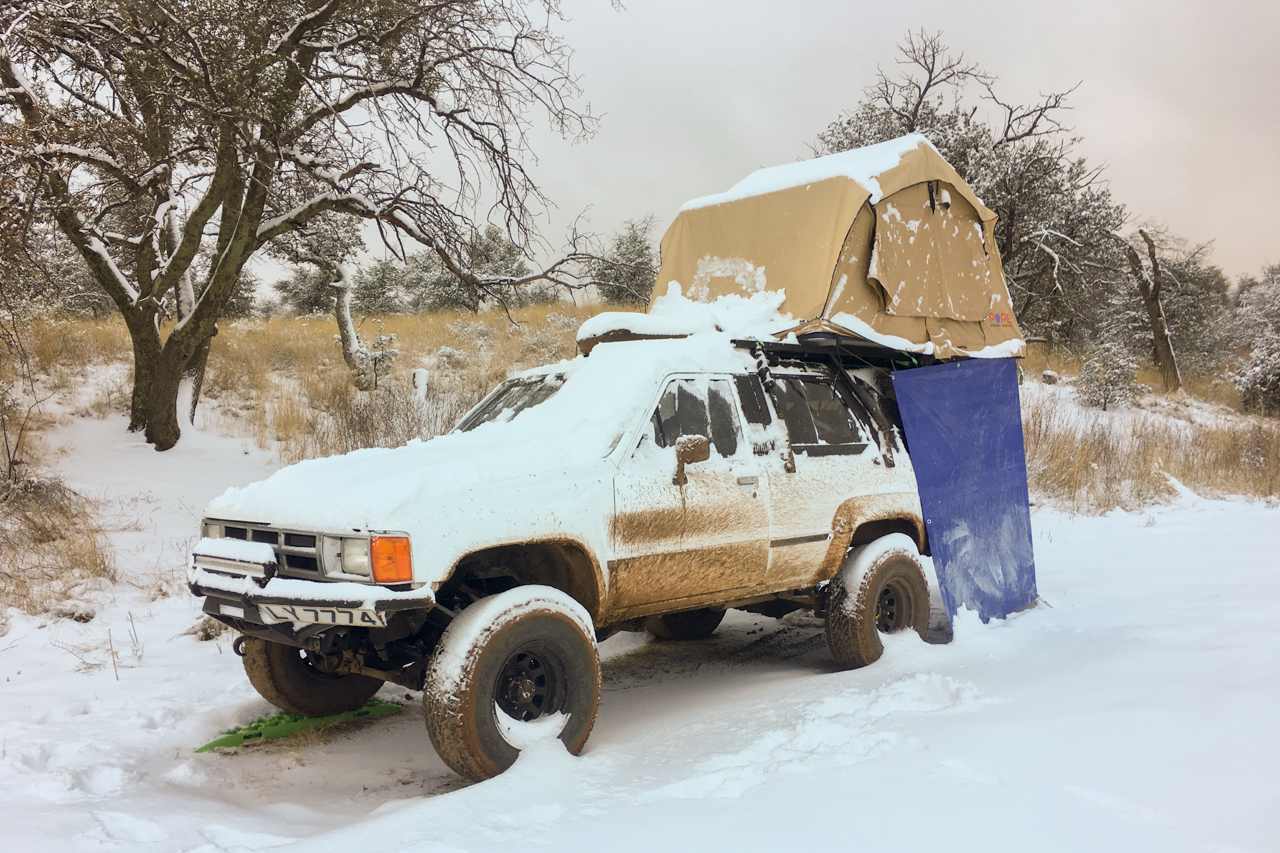
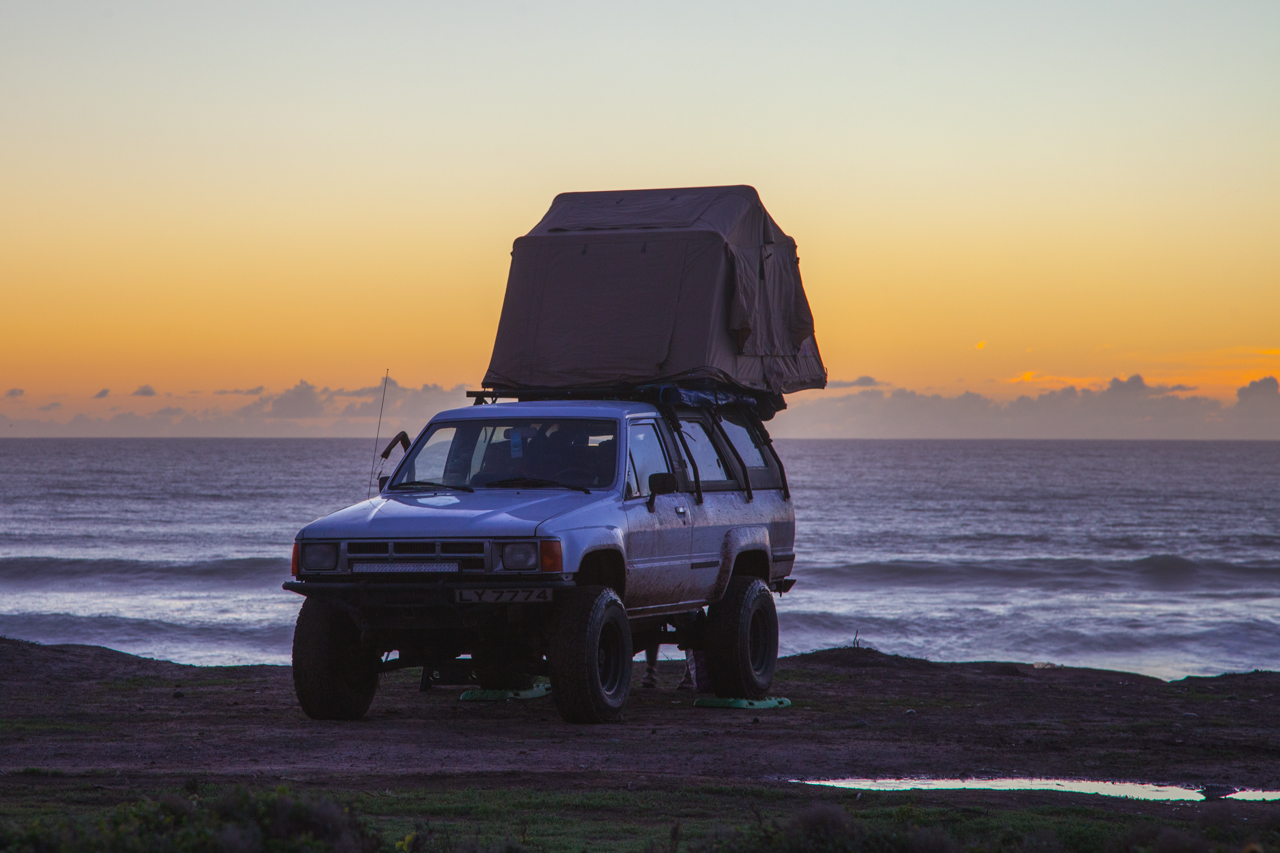
We live in Roof Top Tent FULL TIME! Read up about our first impressions of living in a roof top tent on the road.
We crossed into Mexico via Tecate in a dramatically different fashion than shown on Fox News.
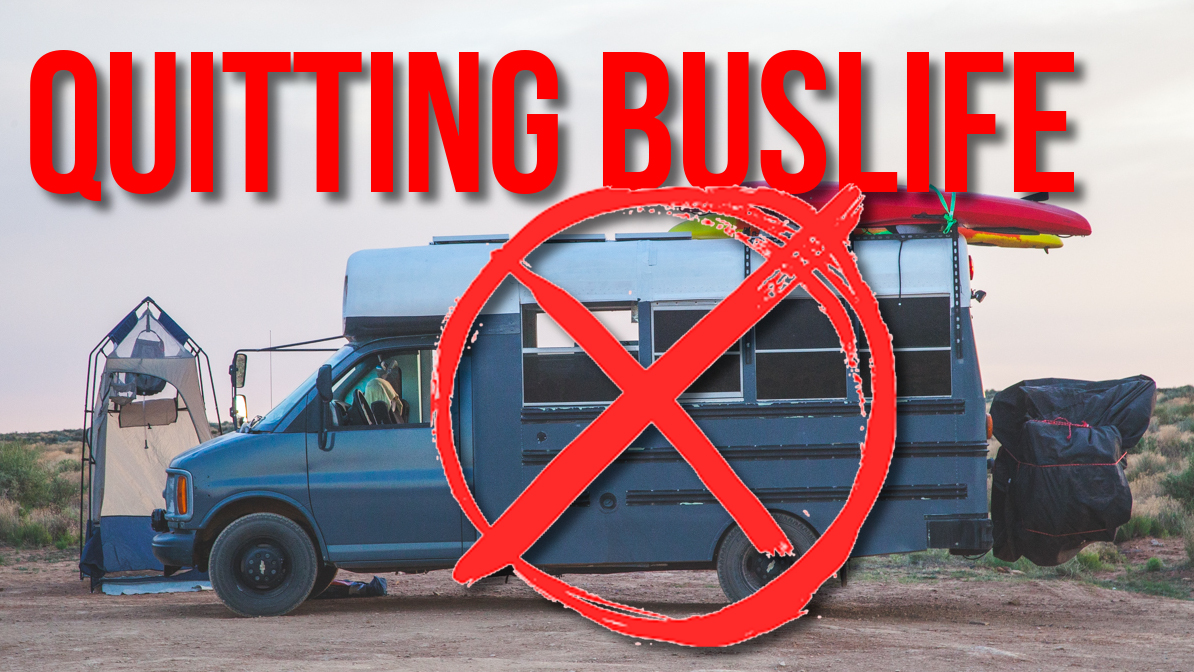
We are quitting #buslife…for now! Our jobs and travel plans have outgrown our bus for the immediate future and we are heading to Baja in our 1st generation Toyota 4Runner!
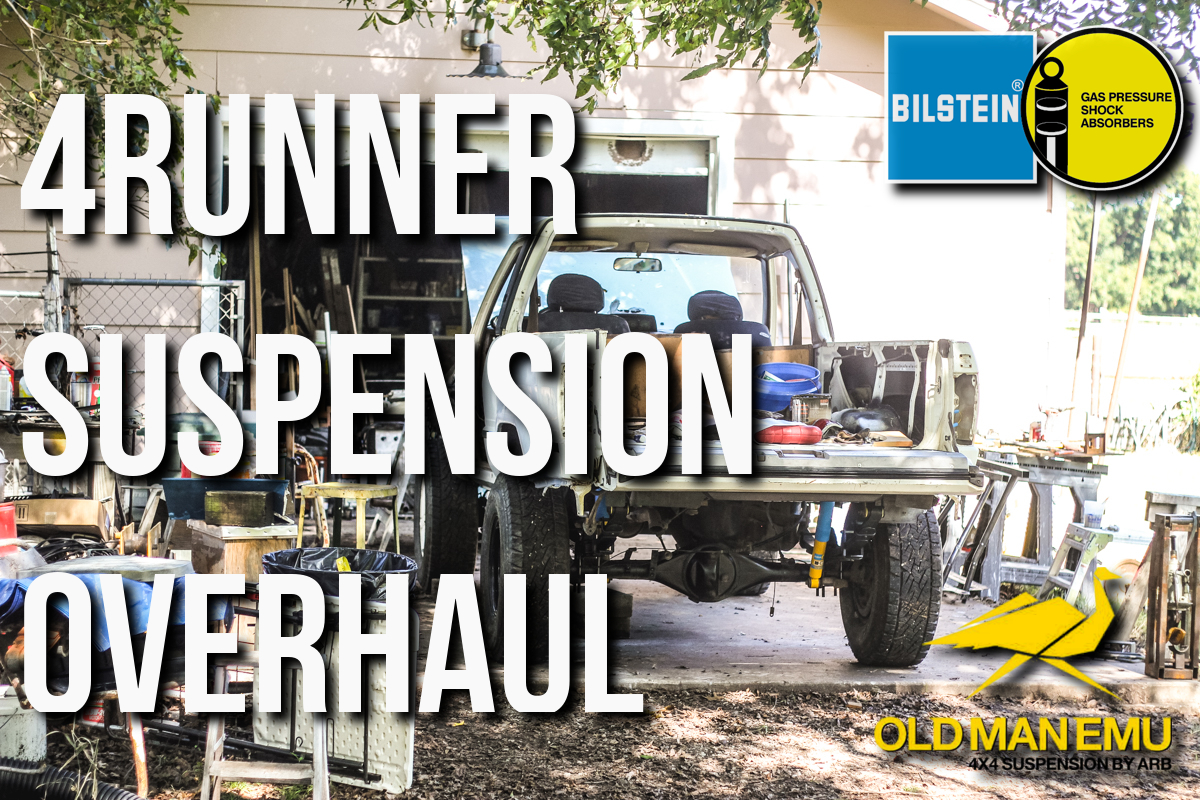
The suspension on our ’86 4Runner was tired, rusted, and inappropriate for the type of travel that we enjoy. The previous setup was an old