Add Sound-Deadening to Your Van Build
Sound deadening is one of the most boring and most important parts of a van build. This post outlines how to strip and clean your van and install sound deadening for less than $100.
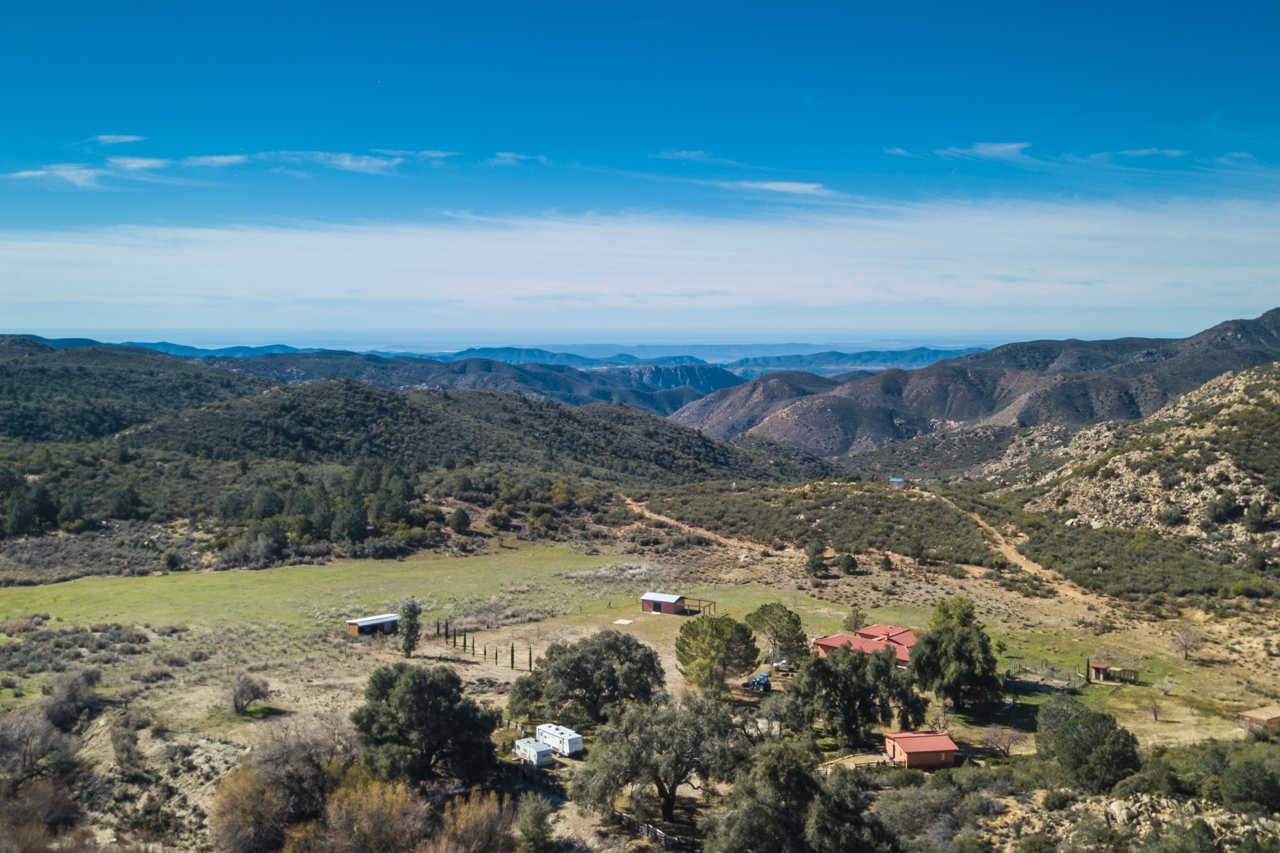
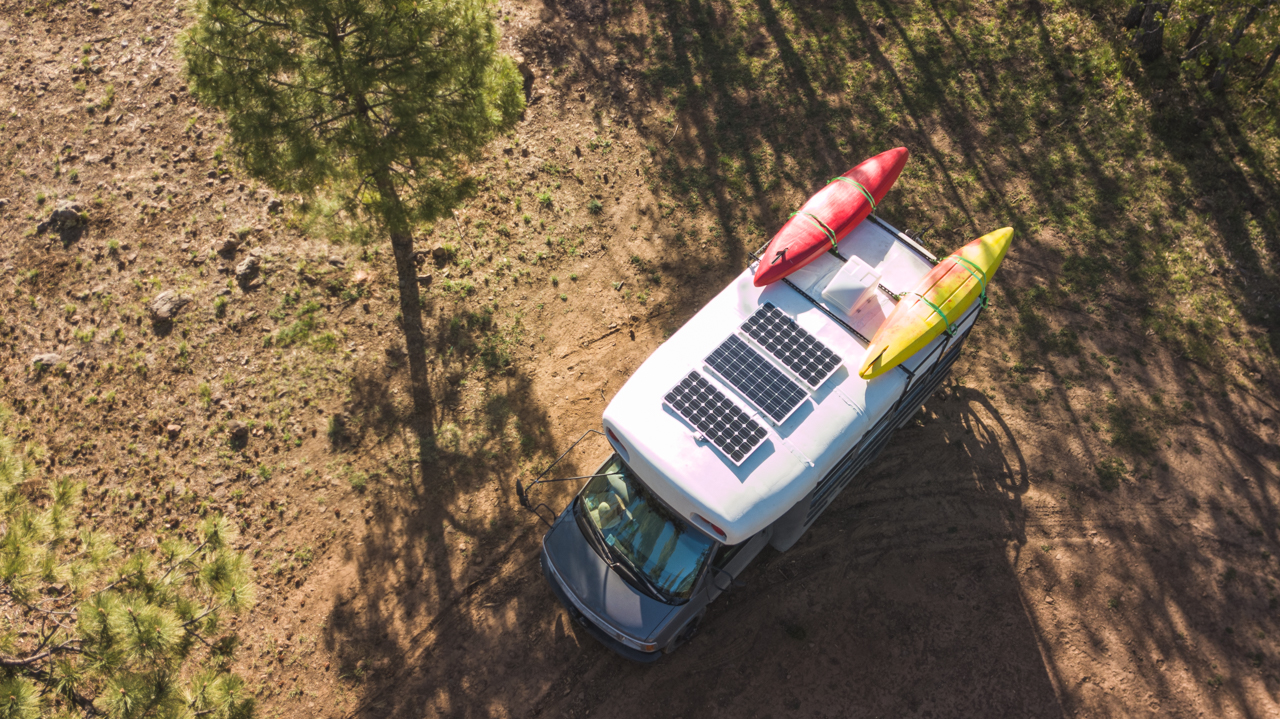
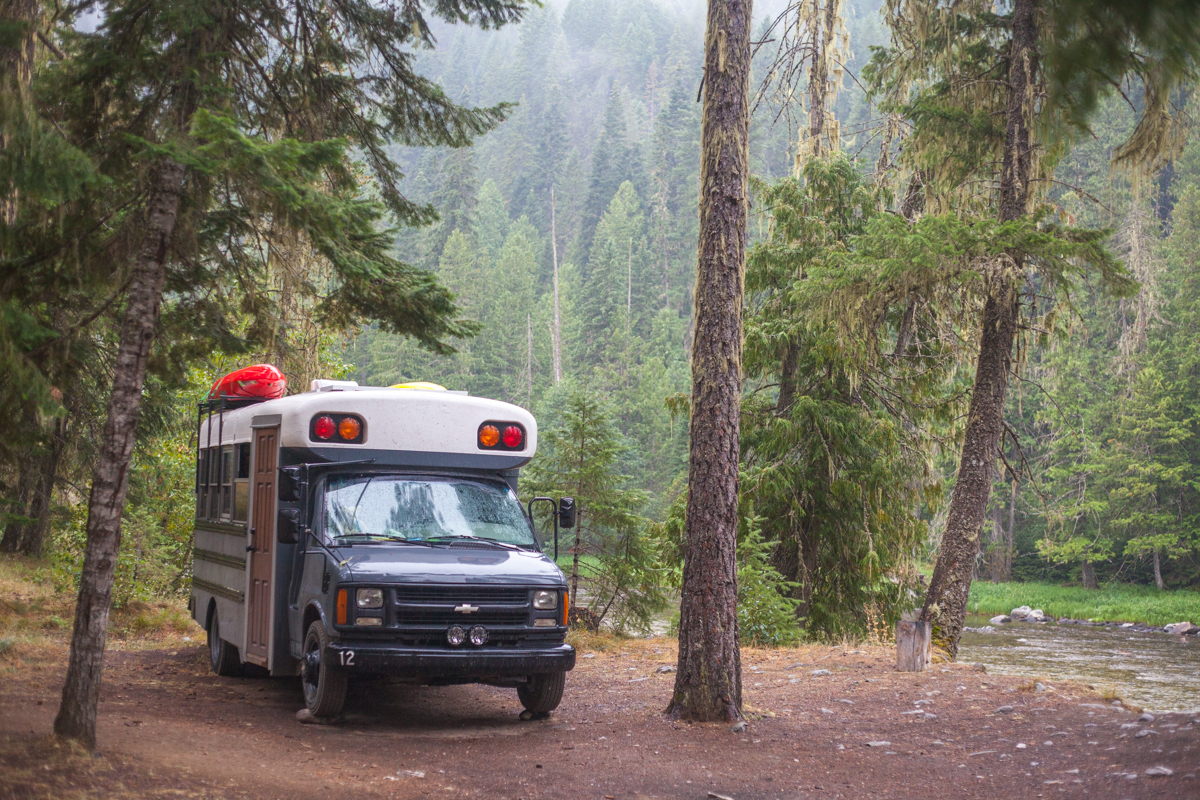
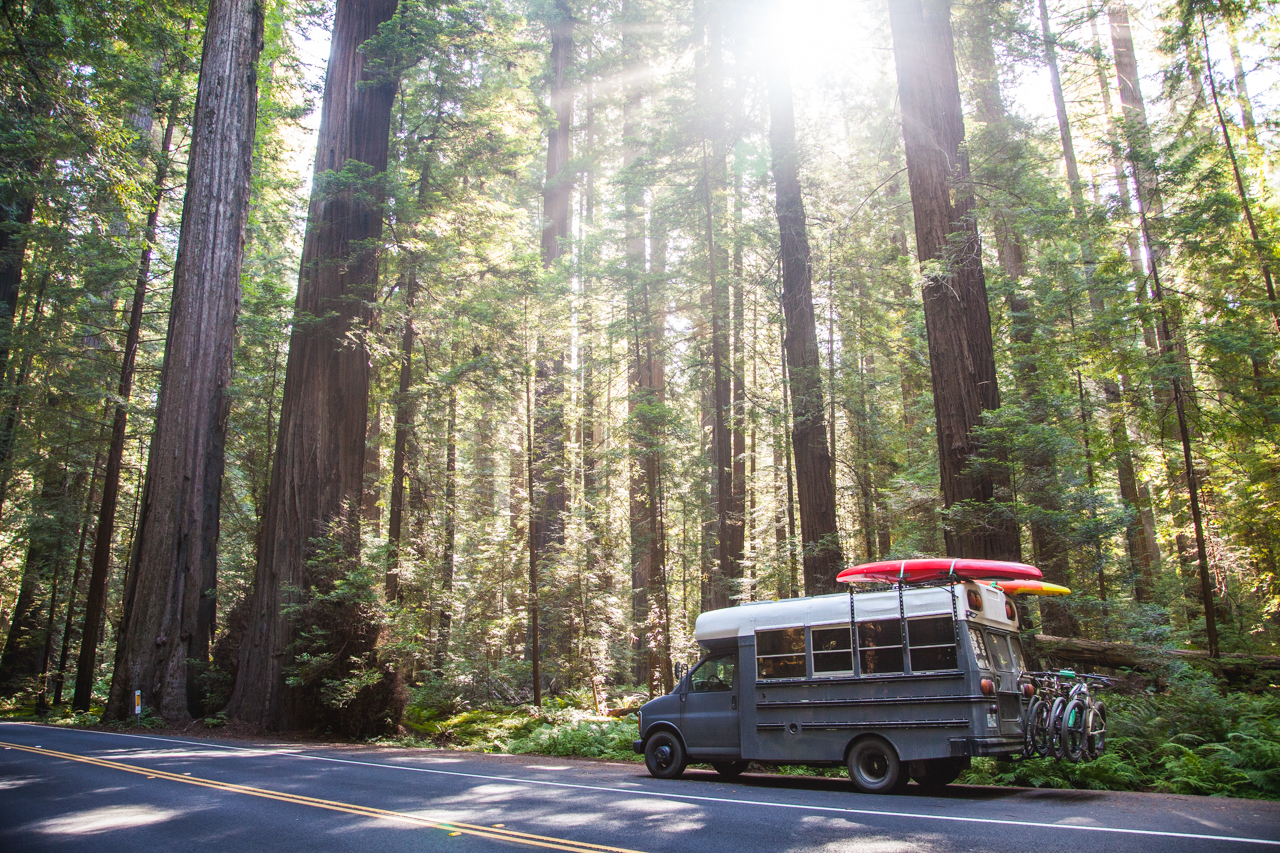
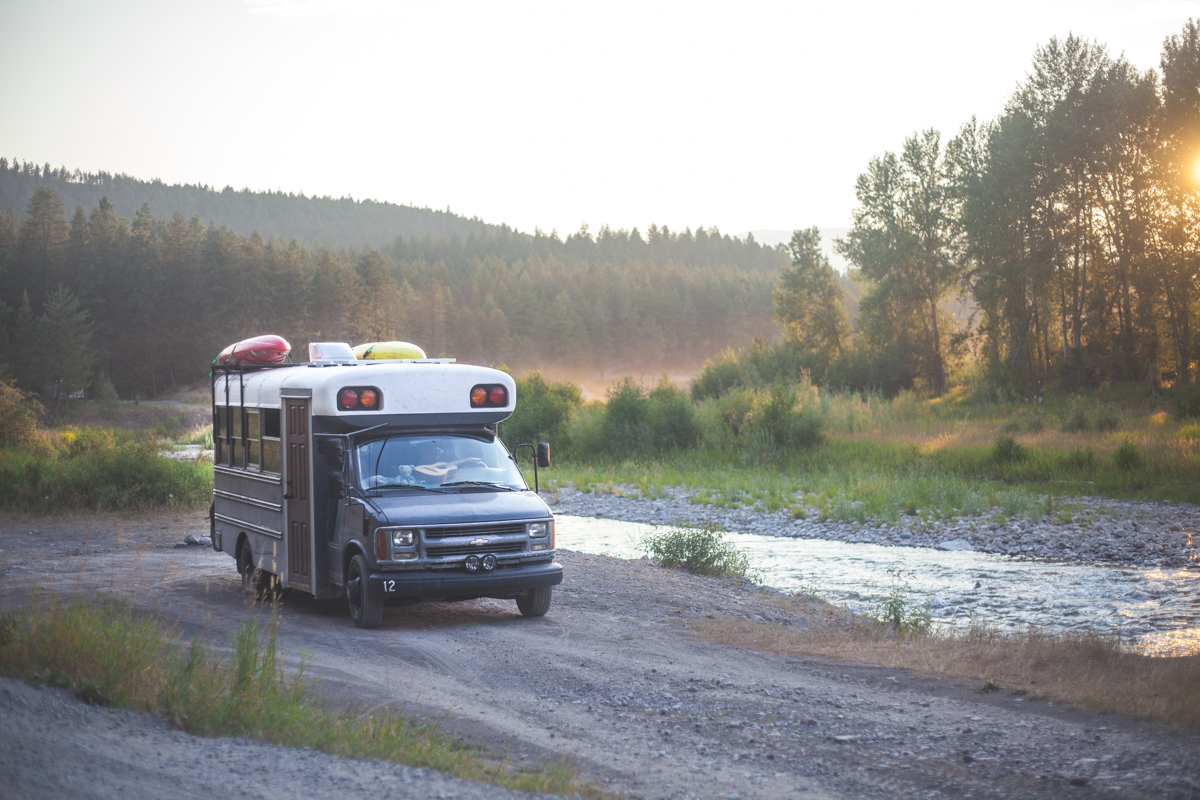
Overland Travel ⎮ Adventure Photography
Sound deadening is one of the most boring and most important parts of a van build. This post outlines how to strip and clean your van and install sound deadening for less than $100.
Can you have a Thanksgiving feast in a van? Why yes you can! Read all about our feast of the beach!
Want to travel the world and live in other people’s houses? Housesitting allows you to see the world and not have the extra cost of rent or hotels. In this article we show you how to become a housesitter.
Know What You Need and How You Will Use It The house electrical system of any conversion or RV is a pretty daunting and scary
We painted our bus in a hurry and ended up with a really good looking paintjob thanks to help from my grandparents, parents and Rachael’s
When we purchased our bus and began to build it into a tiny home on wheels we were overwhelmed with the options of accessories and
I hope you have had a chance to read Part 1 of this article before reading this one. In the first article on this topic
If your social media feeds are like mine, they are littered with #vanlifers that are sprawled out in their sprinter conversions, physically exquisite companion half
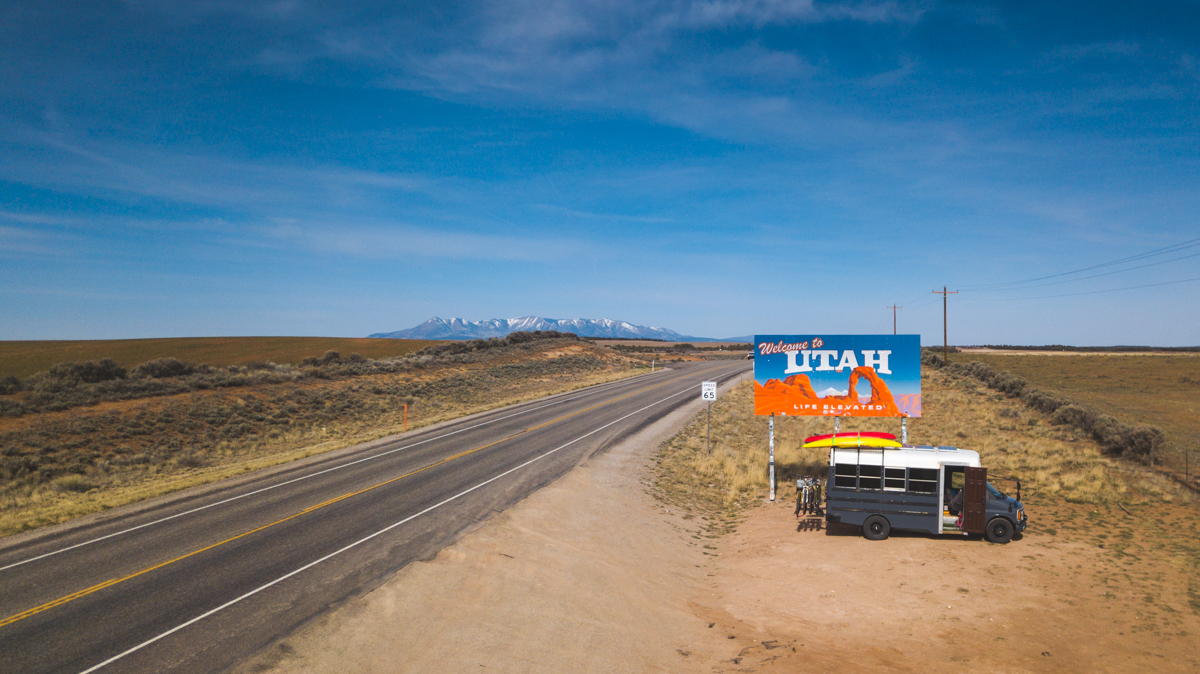
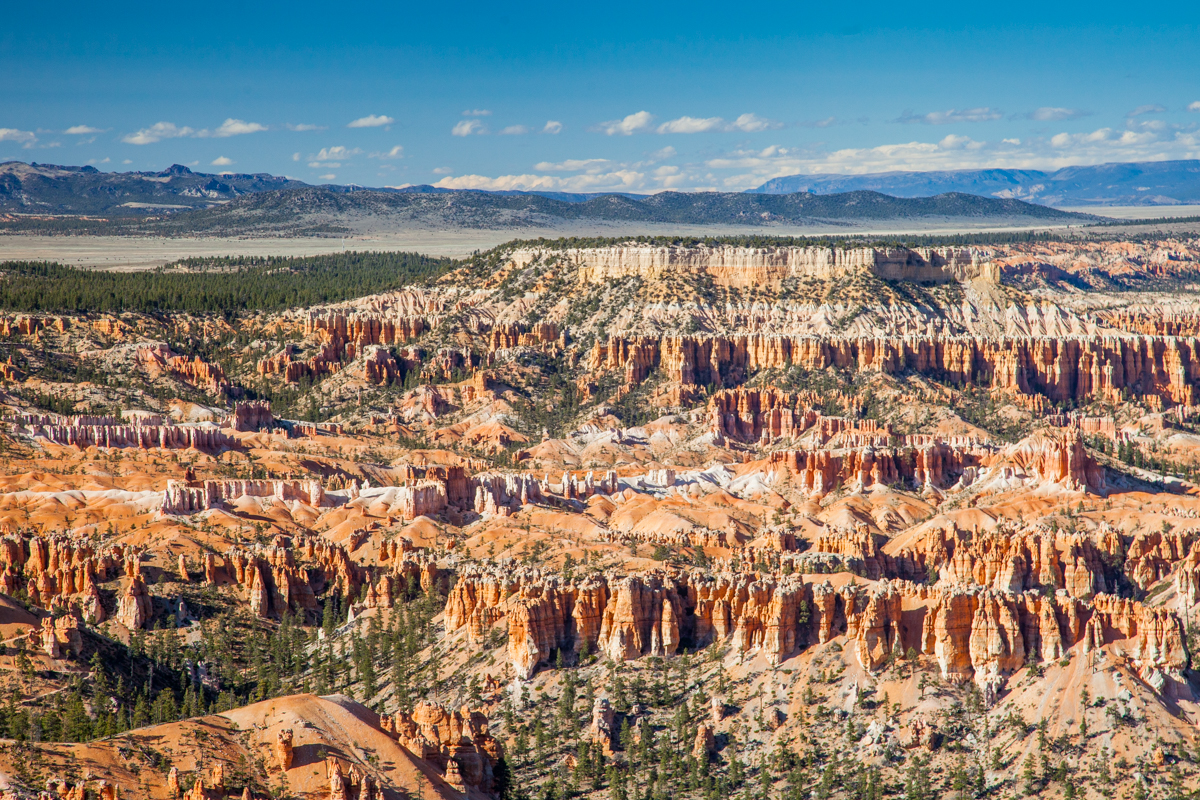
Utah is beautiful, mystifying, and captivating. These are our top-5 stops in Southern Utah. These might not be the most popular, but they are unique,
Rachael and I are not very touristy people. We like to camp in the National Forest with few neighbors and even fewer utilities; this article