We Bought a Bus…Again!
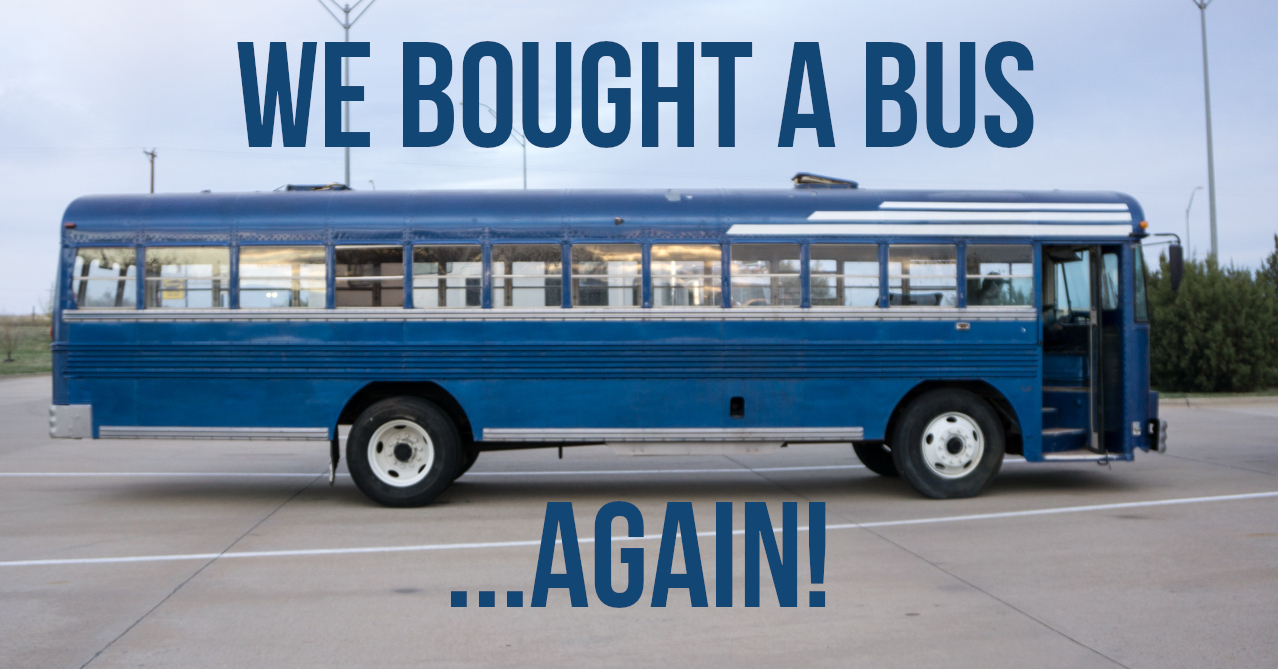
We bought another bus! Our plans are to chop the top to create a custom, poor-man’s, toy hauler to transport our 4×4 around.
Overland Travel ⎮ Adventure Photography
We bought another bus! Our plans are to chop the top to create a custom, poor-man’s, toy hauler to transport our 4×4 around.
During most of our travels around North America, we have worked online as our primary source of income. Our employment has required that we be
One of the best investments you can make in your traveling future is the training and education from an Overland Experience ticket at Overland Expo.
Read all about our favorite gear that we use while traveling in our short bus! Any item on this list makes a perfect gift for the vanlifer in your life.
What happens when your phone GPS stops working? Don’t be stuck, trust a paper map!
We review the ultimate vanlife camp chair in the Helinox Chair One XL.
We review our favorite piece of kitchen gear, our Sea To Summit X-Pot. Read our article for more about this piece of gear!
Check out the Top 4 Things to See at Overland Expo 2019 EAST!
These are the top podcasts that we listen to while traveling. From History to Business, we enjoy a variety of topics and hosts that keep things interesting!
The best choice for whale watching on Cape Breton Island is Captain Mark. Read more to find out why!


